How Can We Help?
Know Your Client (KYC) and Anti Money Laundering (AML) for ICO project is an investor identification procedure required by local laws. We’ll use the Ultimate Member as a WordPress KYC/AML plugin in this tutorial.
Typically, it means to collect and verify some identification documents images like passport ID, driver license, and so on. ICO token purchases should be allowed only for verified investors.
It is forced by restricting access to token sale pages and by applying a whitelist technique in the Crowdsale smart contract.
In this tutorial we will establish both techniques on a test WordPress site to establish the Know Your Client (KYC) procedure.
Save Your Time and Money! Hire us to configure Know Your Client (KYC) procedure and/or develop a Crowdsale contract with the whitelist feature support for you.
Step 1. Install the Ultimate Member plugin
The Ultimate Member plugin is an ultimate solution for KYC implementation on any WordPress site and will be used as a WordPress KYC/AML plugin in this tutorial.
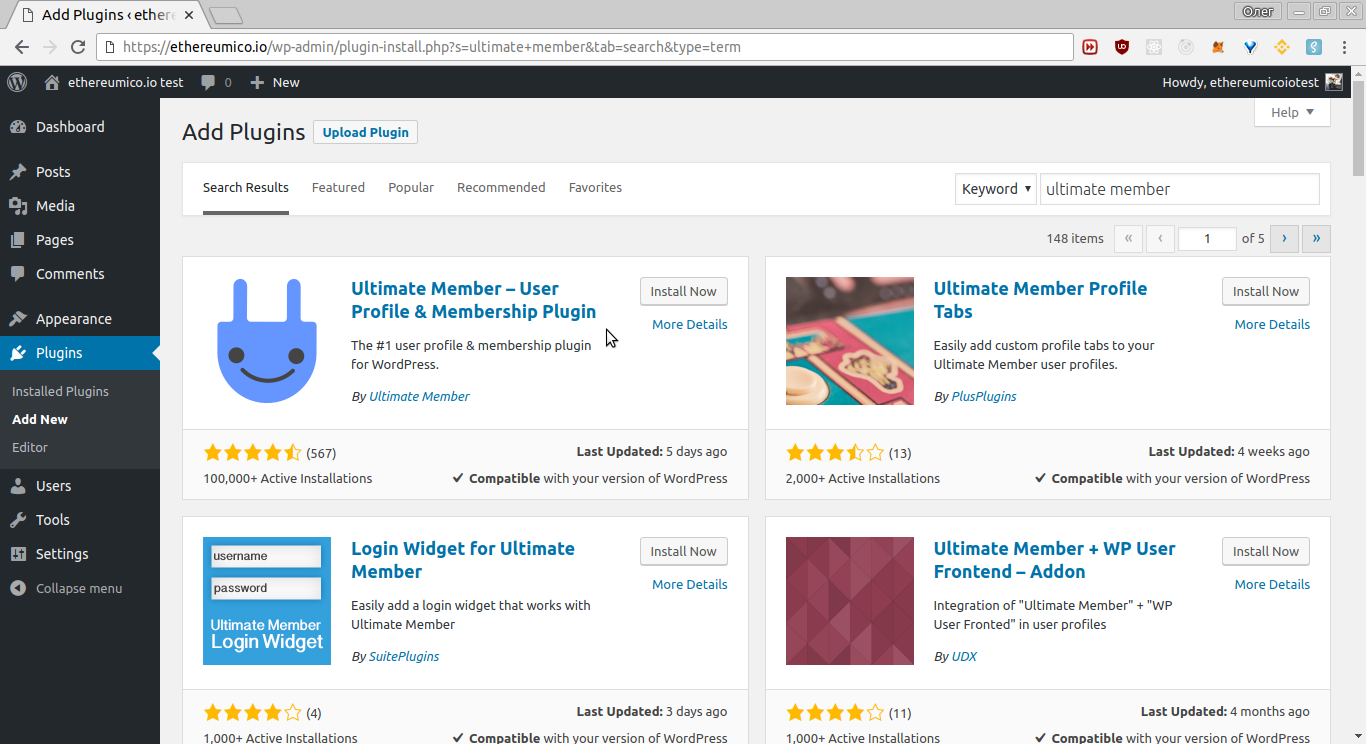
Open your WordPress site admin dashboard and go to the Plugins -> Add New section and input the ultimate member string into the keyword field. The Ultimate Member plugin would be the first in a list. Click the Install Now button on the plugin card.
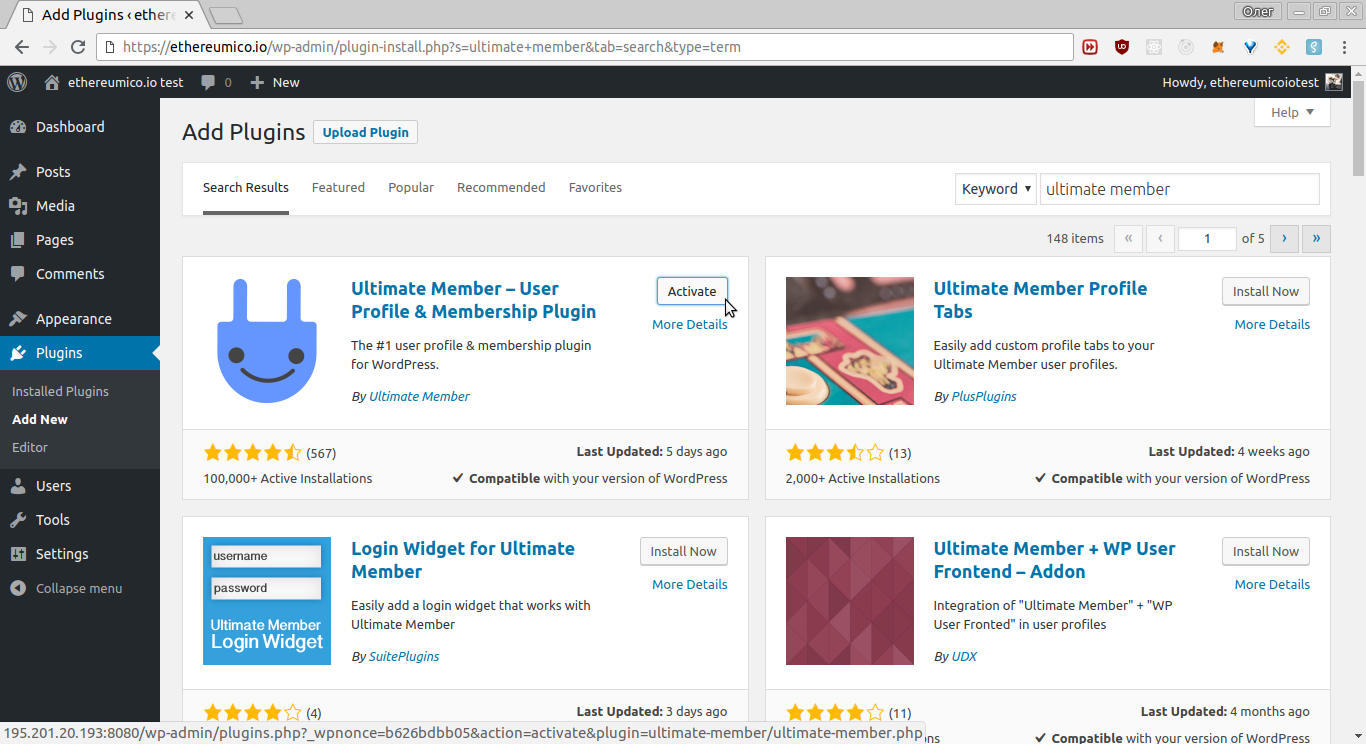
After some short time the Install Now would be changed to the Activate button. Click this button and wait till the installed plugins list would be loaded – Plugins -> Installed Plugins section.
Step 2. Turn on new user verification for KYC/AML
In this step we’ll configure user registration to went through manual admin verification before be able to login to your site. It is the very basic KYC/AML requirement.
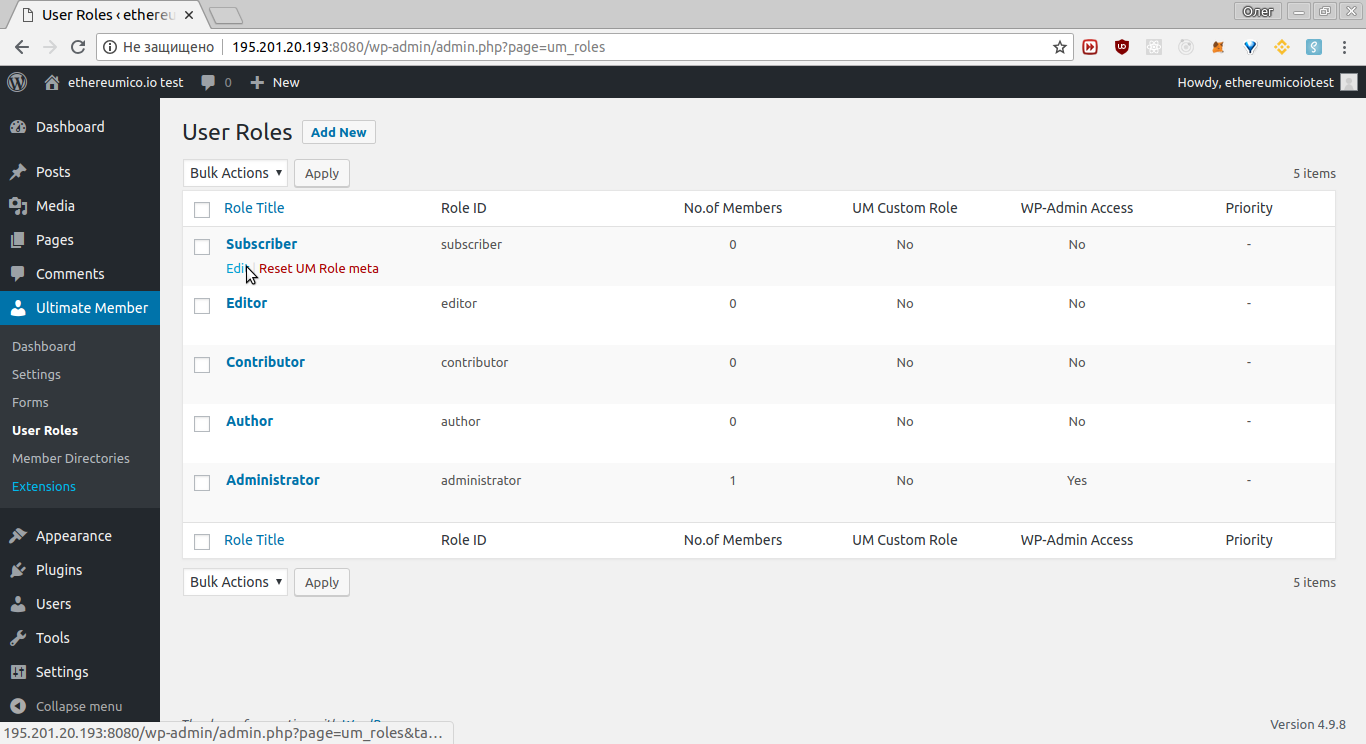
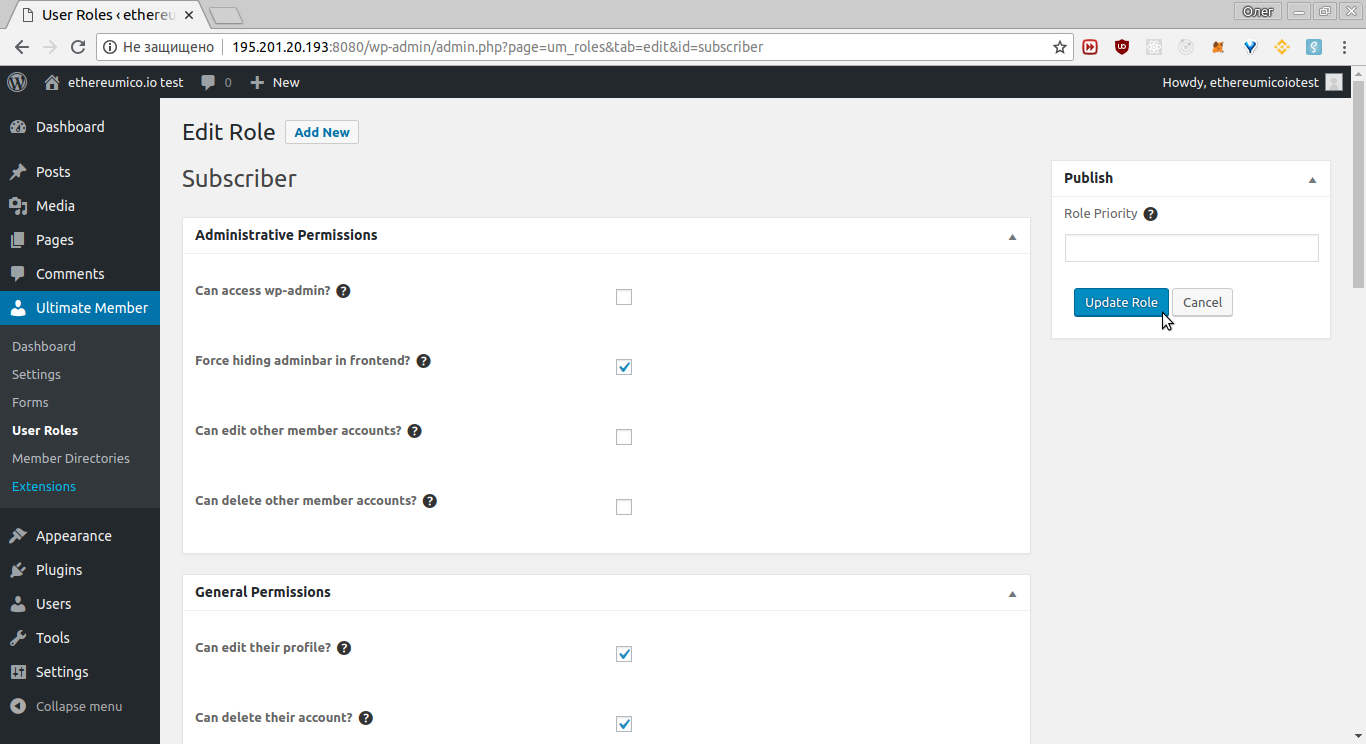
Find the Subscriber user role
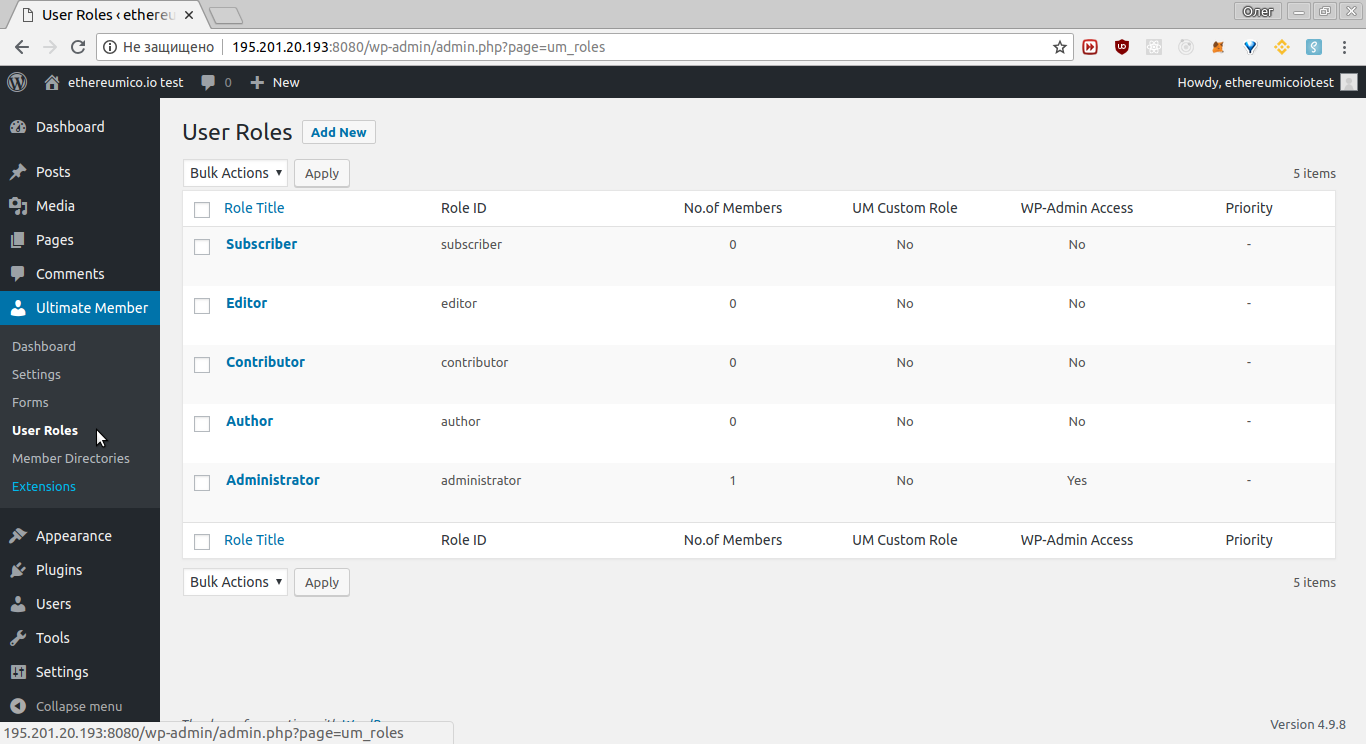
Go to the Ultimate Member -> User Roles section:
Hover the Subscriber role with your mouse pointer and click the Edit link shown:
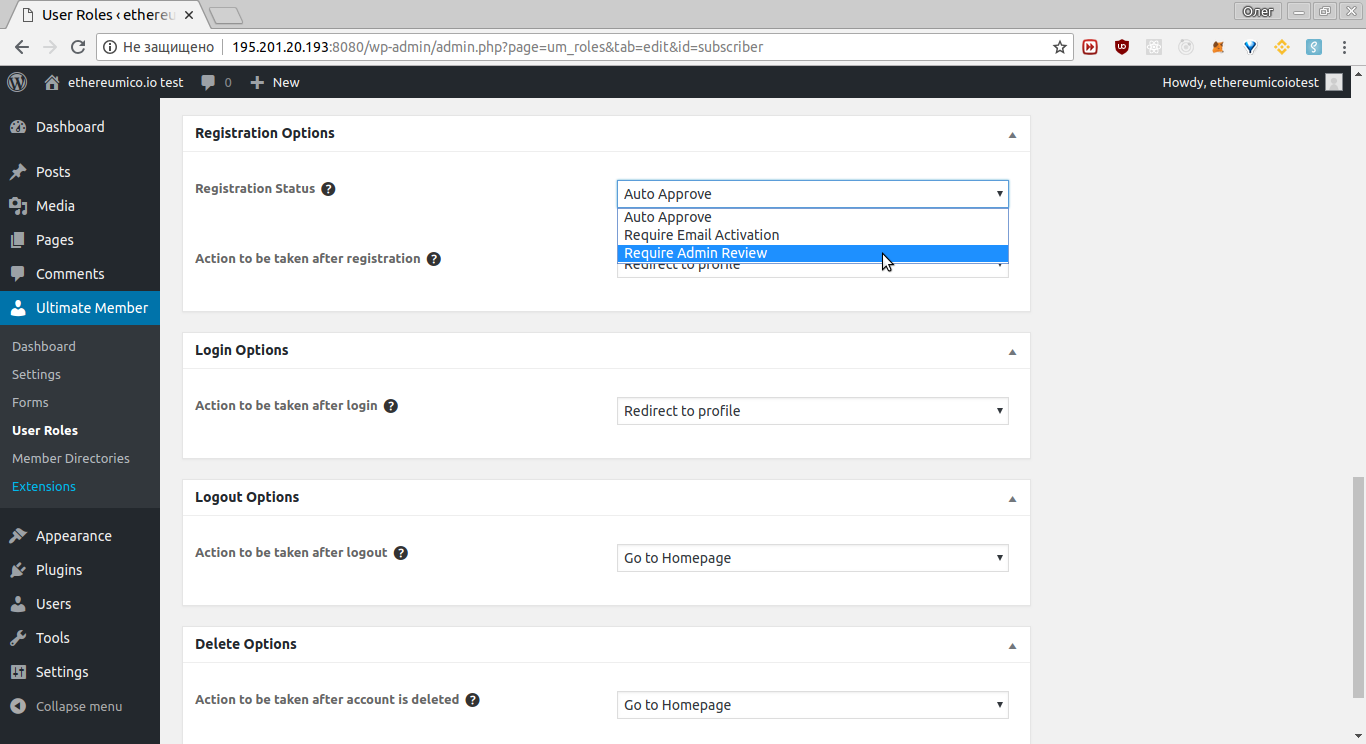
Turn on the admin verification
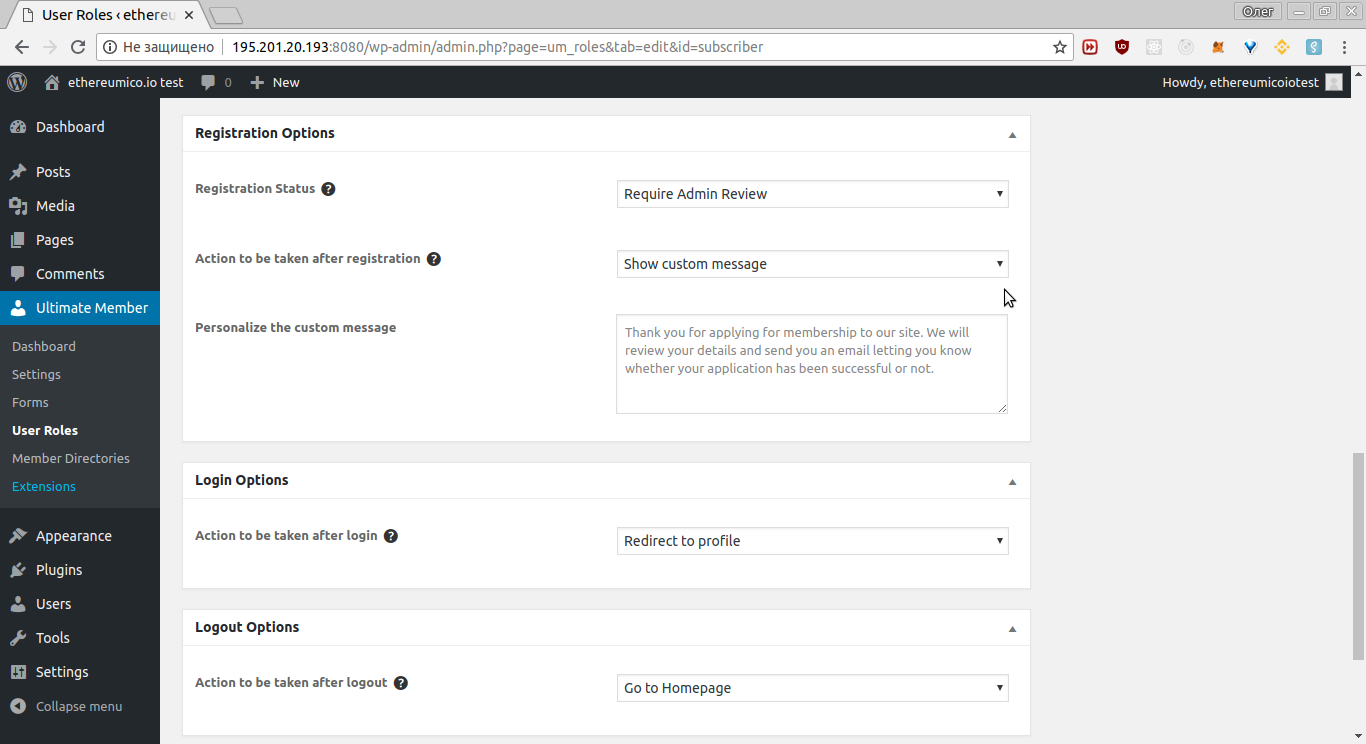
On the page opened find the Registration Options section and change the Registration Status combo box value to the Require Admin Review option:
Edit the Personalize the custom message field value if you want.
This text message is shown to the user after user registration completes.
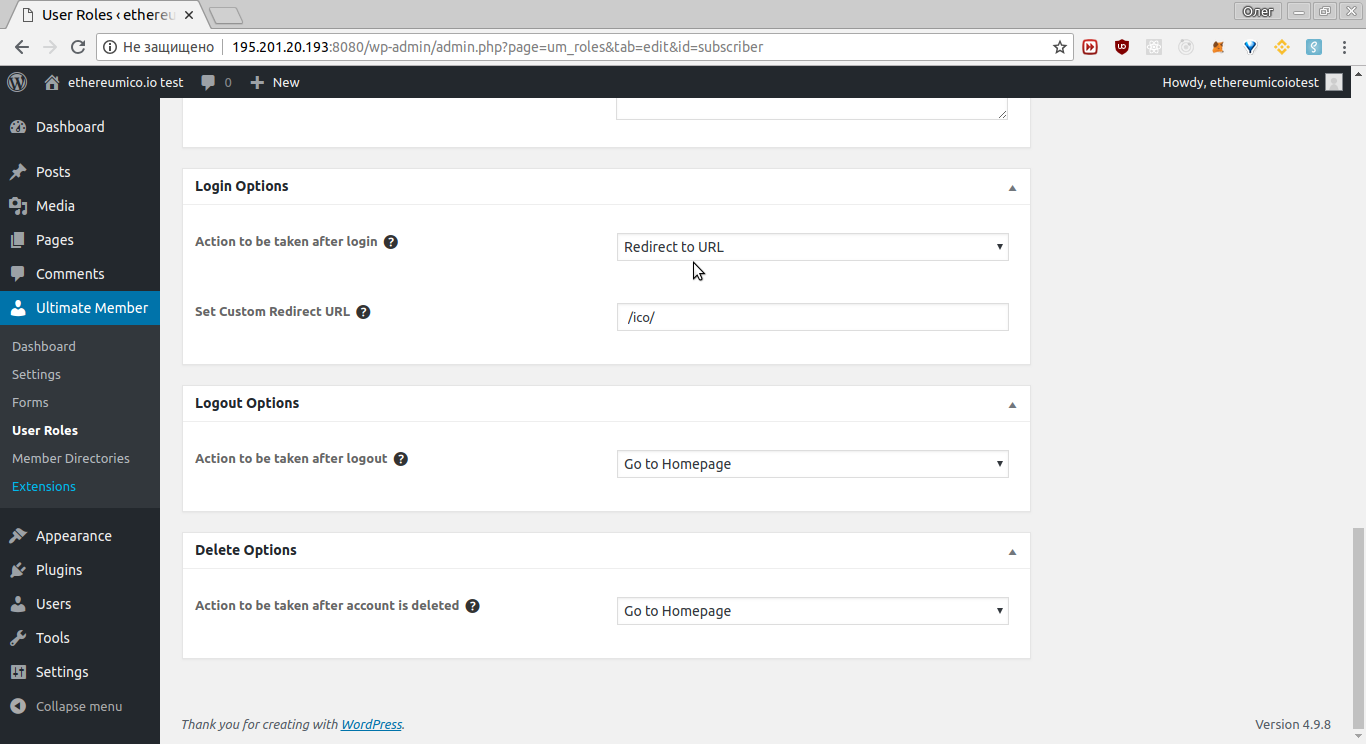
Optional! Configure Login redirect
Optionally, you can configure automatic redirect to your ICO token sale page after user login.
Find the Login Options sections on the same page. In the Action to be taken after login combo box select the Redirect to URL option, and in the Set Custom Redirect URL field input the path to your token sale page, e.g. /ico/:
Save changes
Save changes by pressing the Update Role button in the top right part of this page:
Step 3. Add KYC/AML fields to the Registration form
In this section we will add two fields of the most important types: Image Upload used for KYC/AML user identity verification and Checkbox used for user agreements in any WordPress KYC/AML plugin.
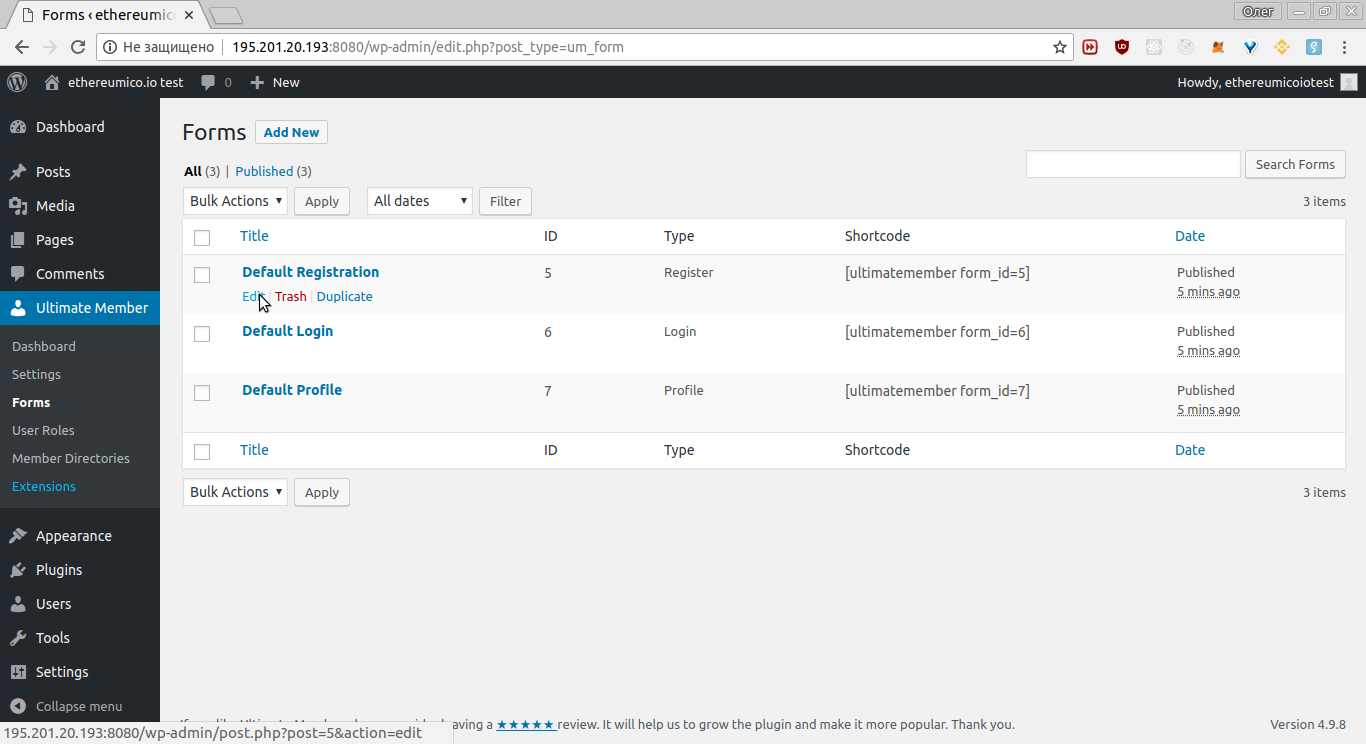
Find the Registration form
Open the Ultimate Member -> Forms section:

Hover the Default Registration form with your mouse pointer and click the Edit link shown:
Add Image Upload field
The Passport ID image upload field is configured here. You can configure any other image upload field exactly in the same way.
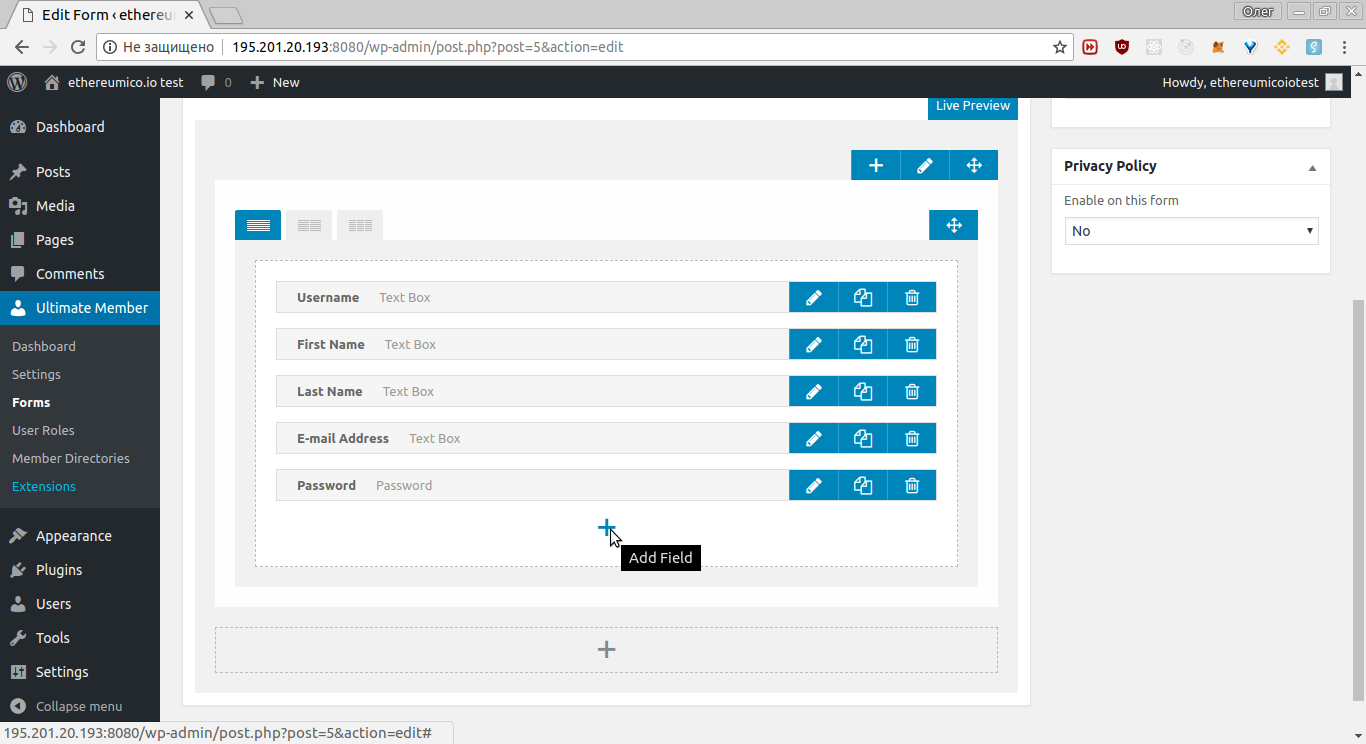
In the form edit page opened scroll down to the fields list in the form editor and press the + button as shown on the picture:
Click the Image Upload button in the dialog opened:
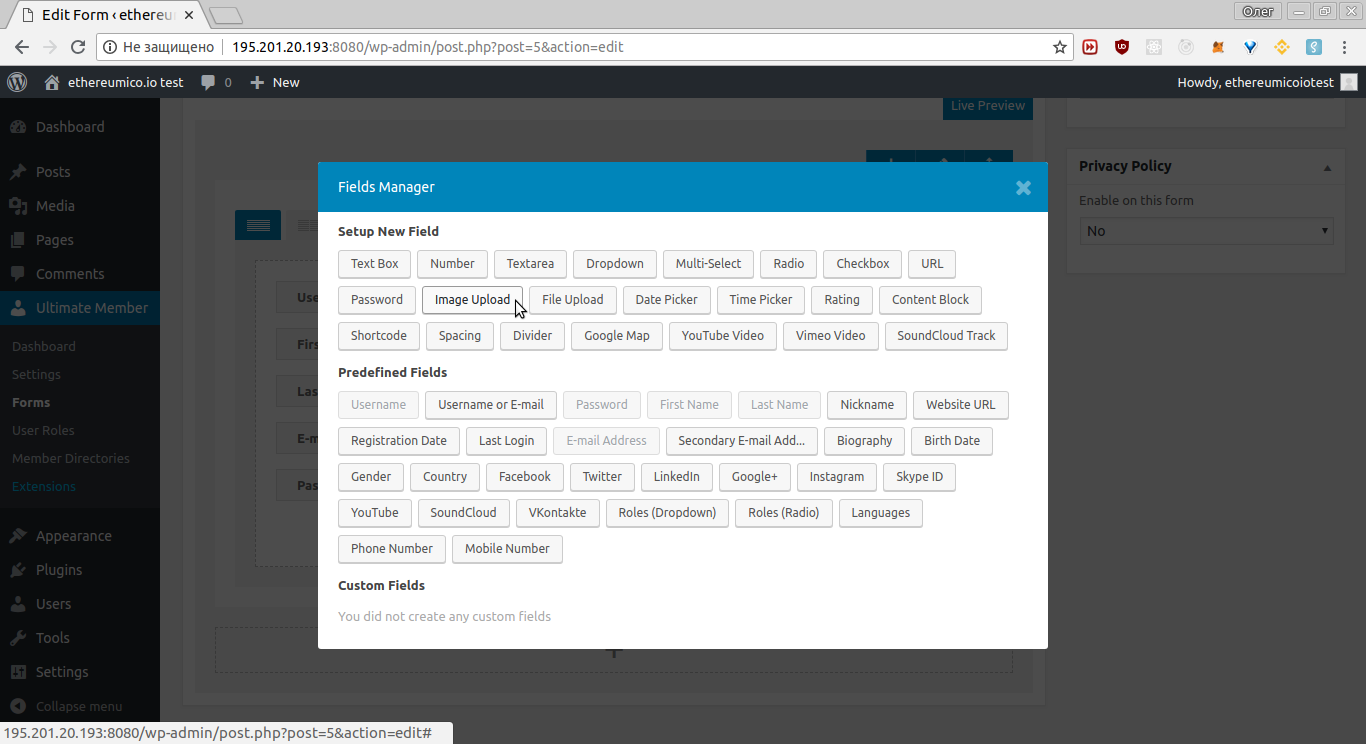
This field allows you to add an image upload field to your forms which will let users upload an image. See the official documentation for more info please.
Configure the field in a similar way to this example picture:
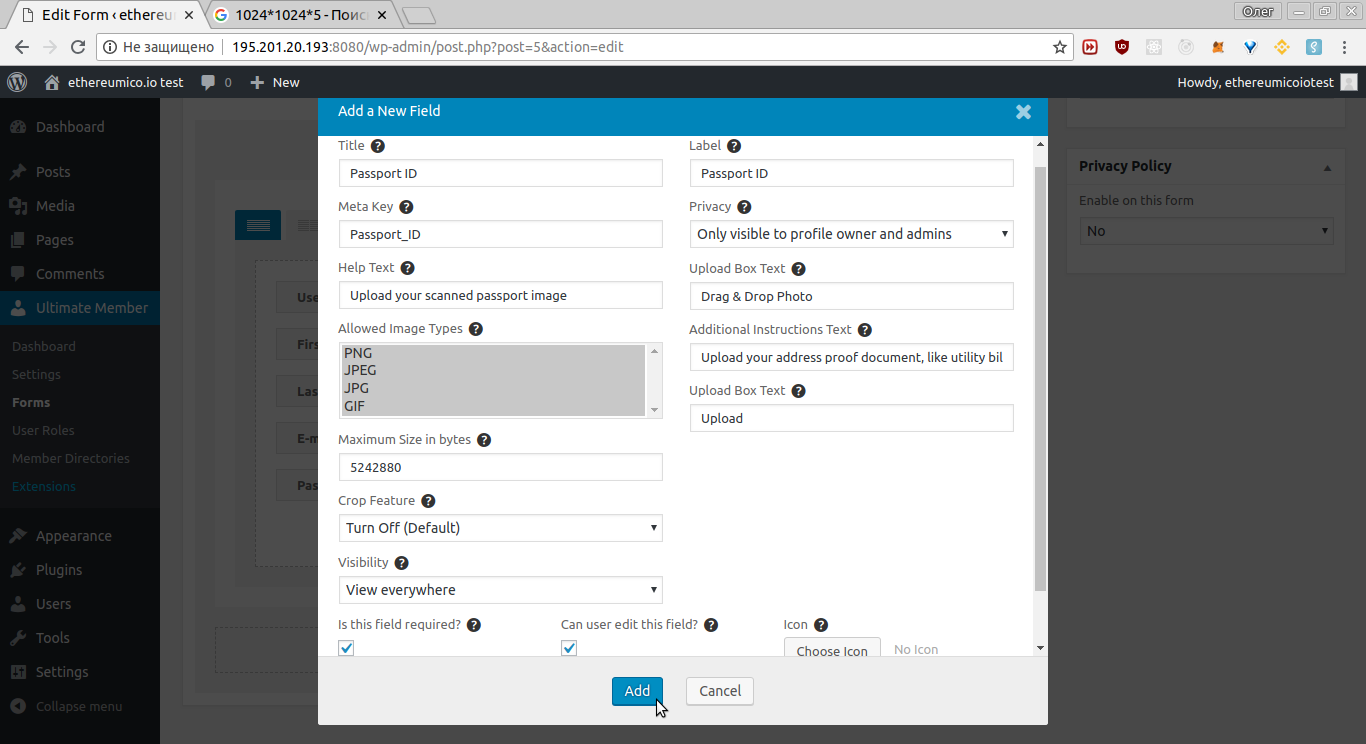
The most important settings here are
- the
Privacy, which should be set to theOnly visible to profile owner and adminsto prevent third parties to see sensitive user information and Is this field required?checkbox that should beChecked Onto force user to provide this information on the registration page.
Save changes
Click the Add dialog button when ready.
Add Checkbox field
The 18+ age requirement is configured here. You can configure any other checkbox field exactly in the same way.
Note that the 18+ requirement is a must for any token sale KYC/AML procedure.
In the form edit page opened scroll down to the fields list in the form editor and press the + button as shown on the picture:
Click the Checkbox button in the dialog opened:
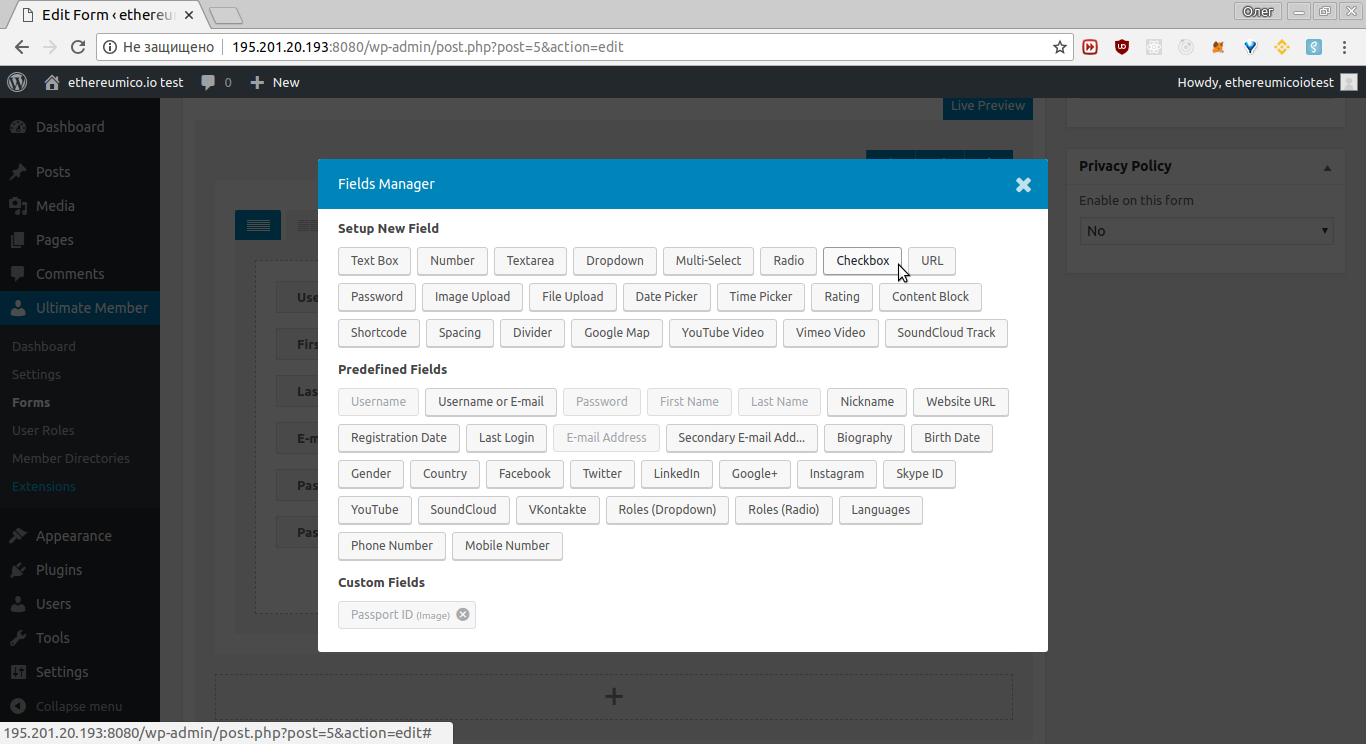
This field allows you to add a checkbox field to your forms which will let users select multiple option from a range of options.. See the official documentation for more info please.
Configure the field in a similar way to this example picture:
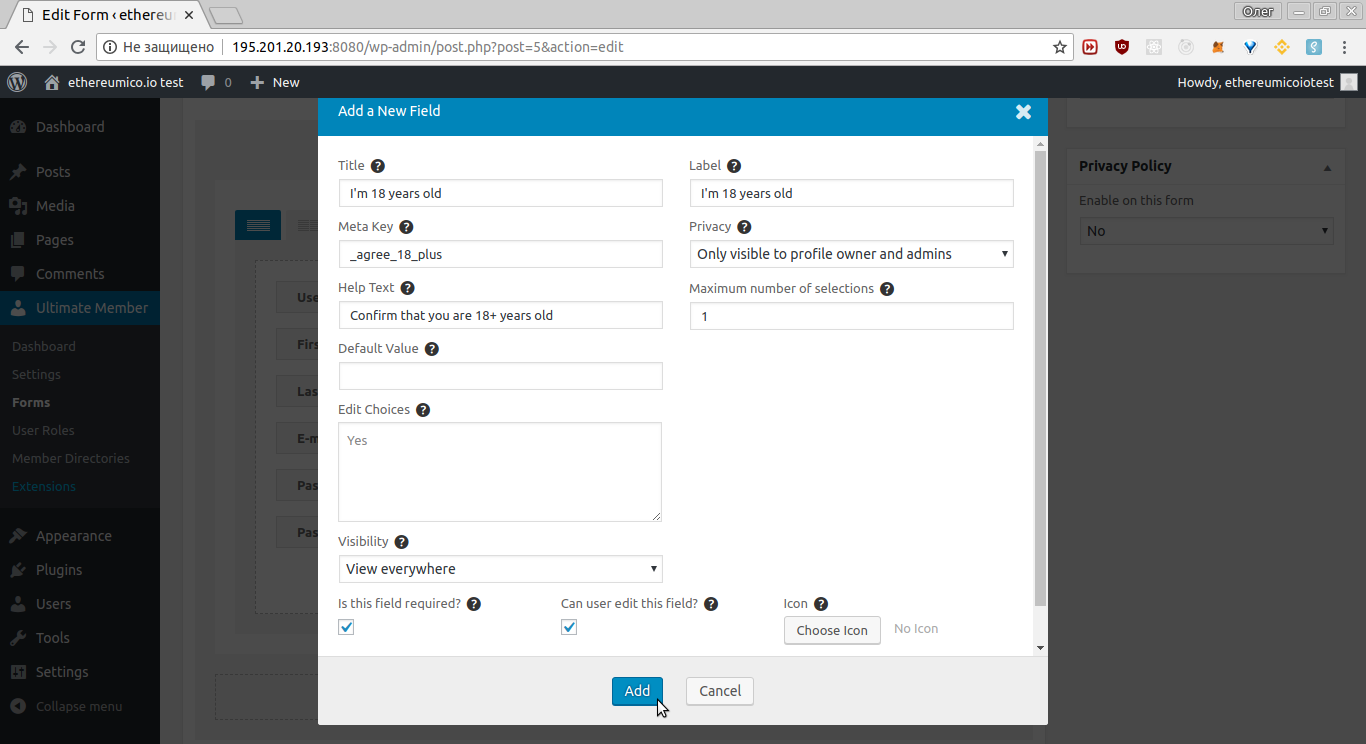
The most important settings here are
- the
Privacy, which should be set to theOnly visible to profile owner and adminsto prevent third parties to see sensitive user information and Is this field required?checkbox that should beChecked Onto force user to provide this information on the registration page.
Save changes
Click the Add dialog button when ready.
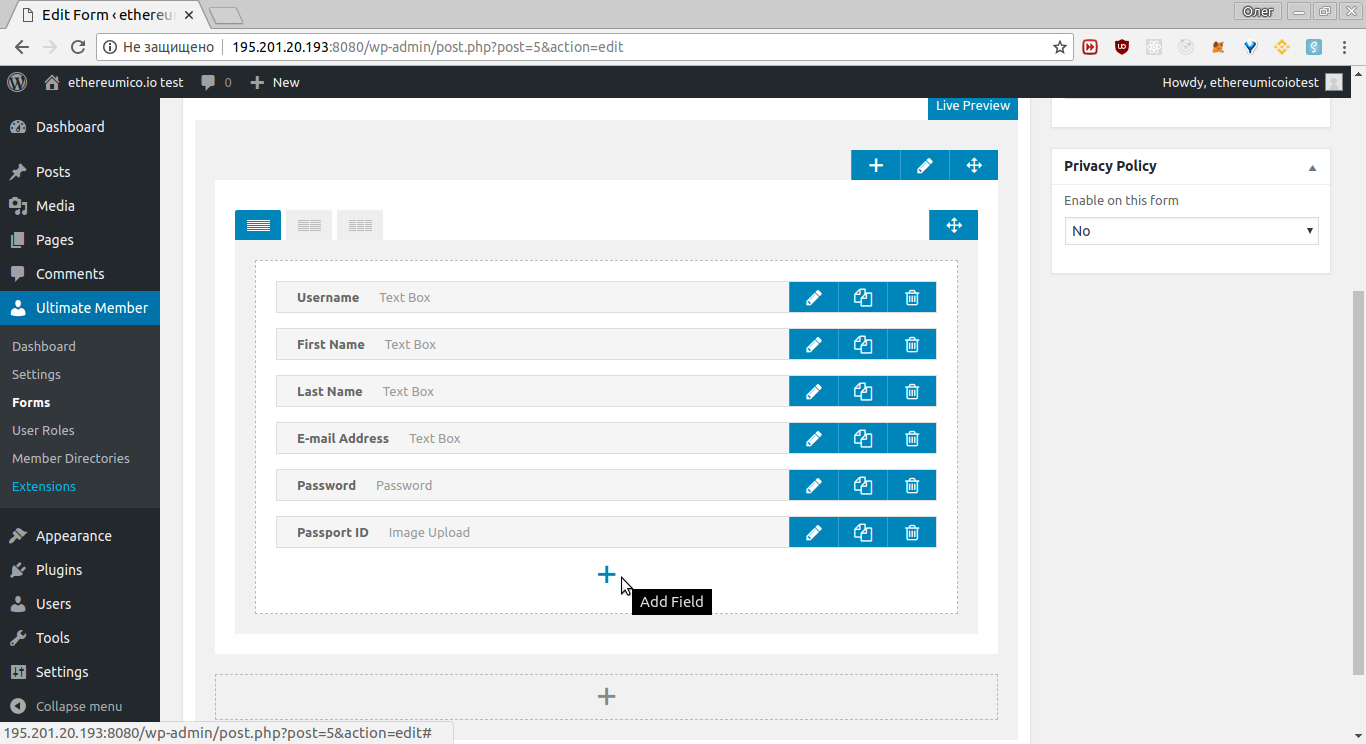
Result should looks like this:
Click the Update button in the top right part of this page:

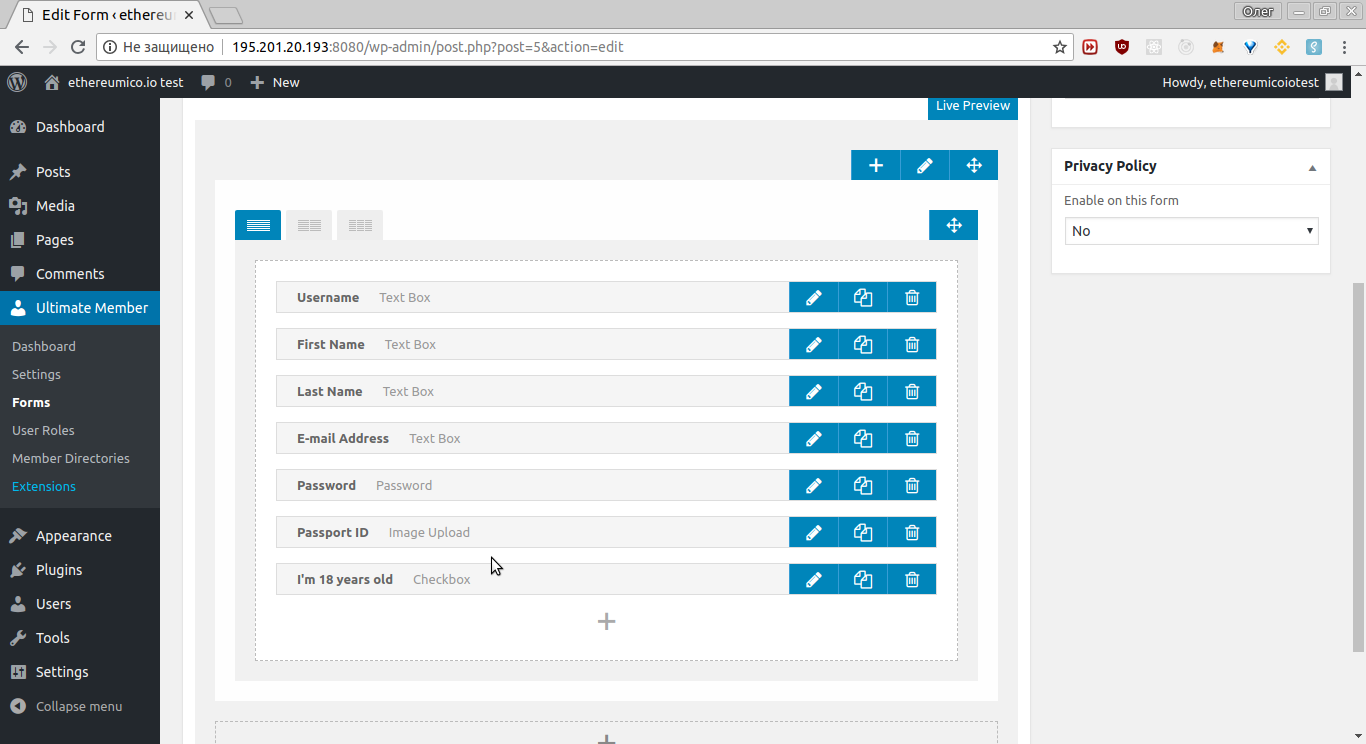
Step 4. Add KYC/AML fields to the Profile form
In this section we will add two fields created for the Registration form to the Profile form to show uploaded image and checked agreement here.
Find the KYC Profile form
Open the Ultimate Member -> Forms section. Hover the Default Profile form with your mouse pointer and click the Edit link shown:

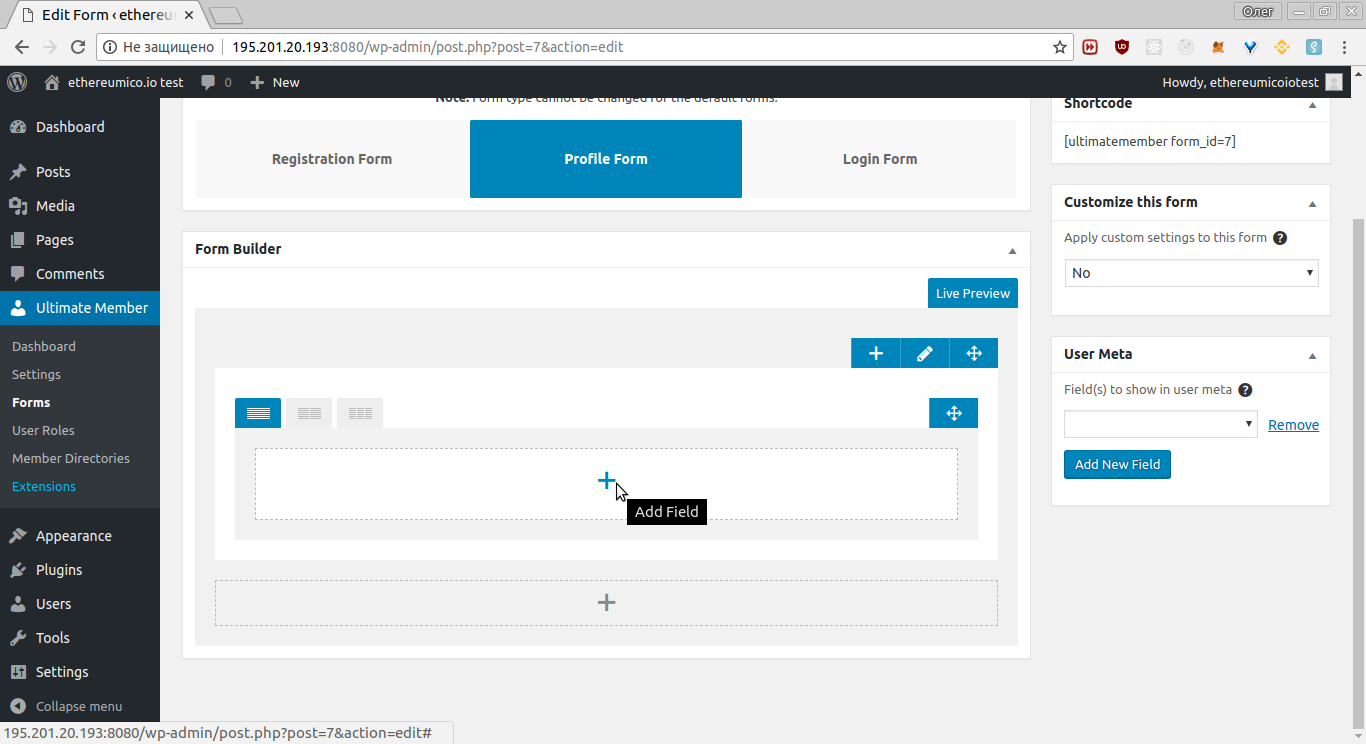
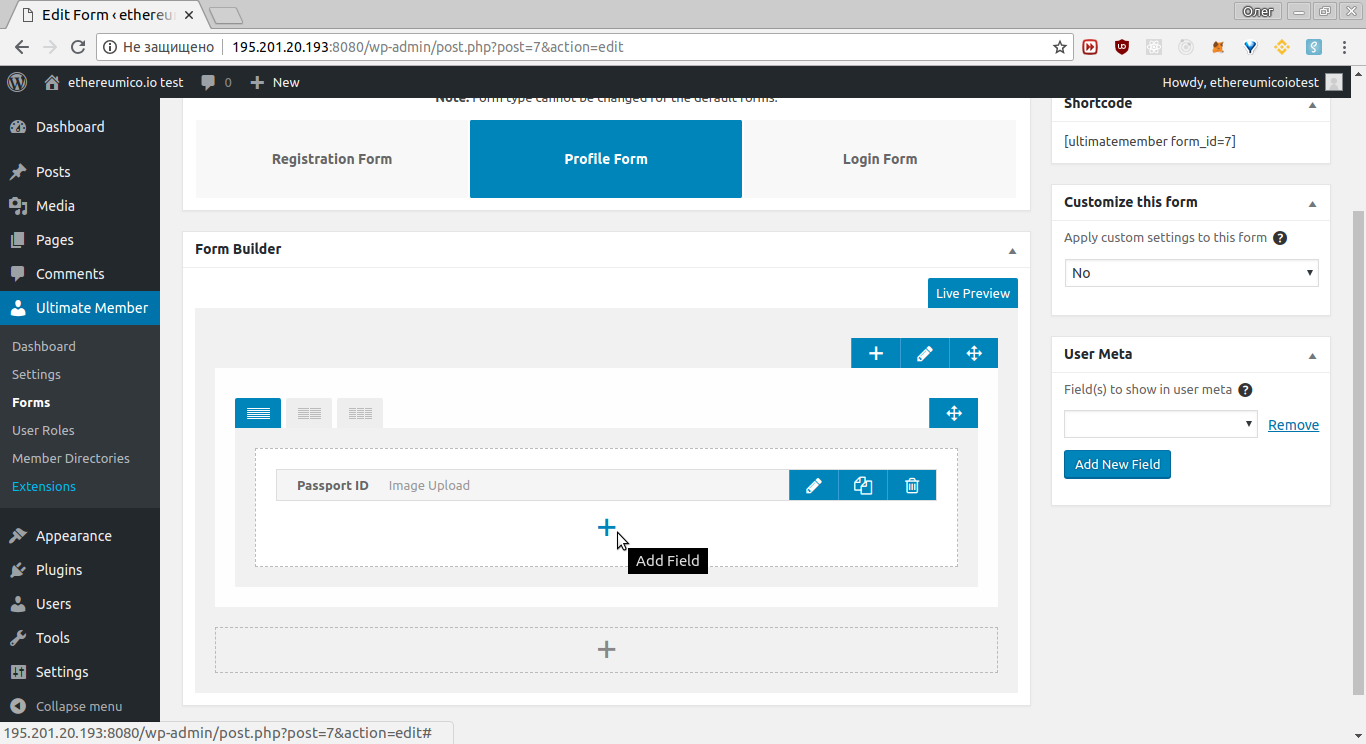
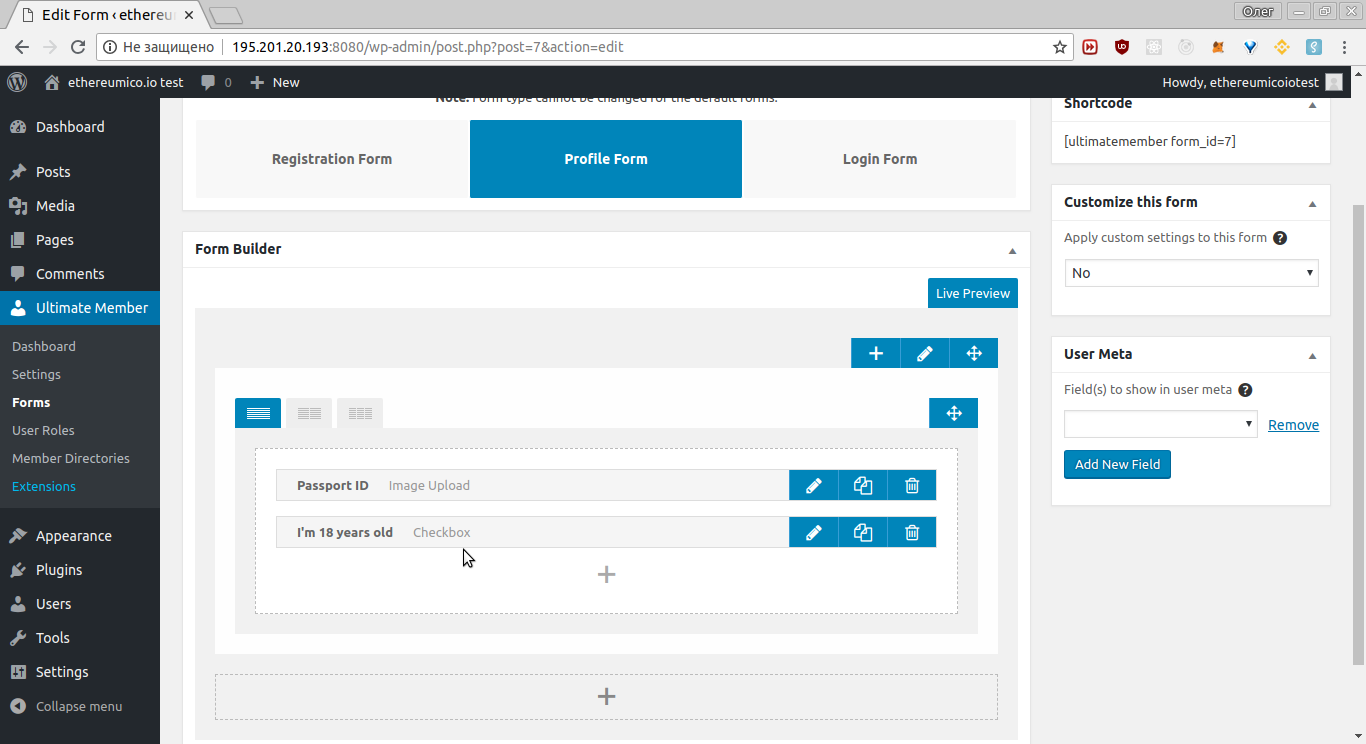
Add the Passport ID field
In the form edit page opened scroll down to the fields list in the form editor and press the + button as shown on the picture:
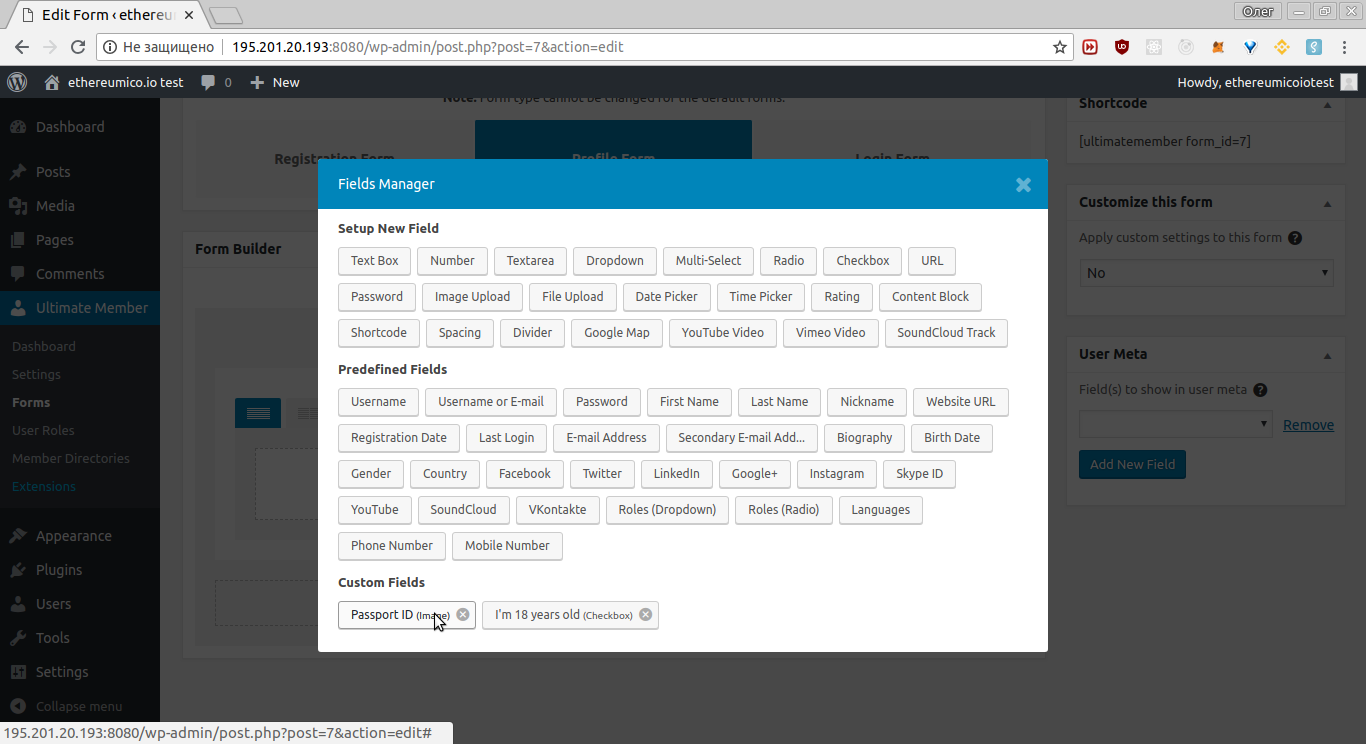
Click the Passport ID button in the dialog opened:
Add Age agreement field
In the form edit page opened scroll down to the fields list in the form editor and press the + button as shown on the picture:
Click the I'm 18 years old button in the dialog opened:

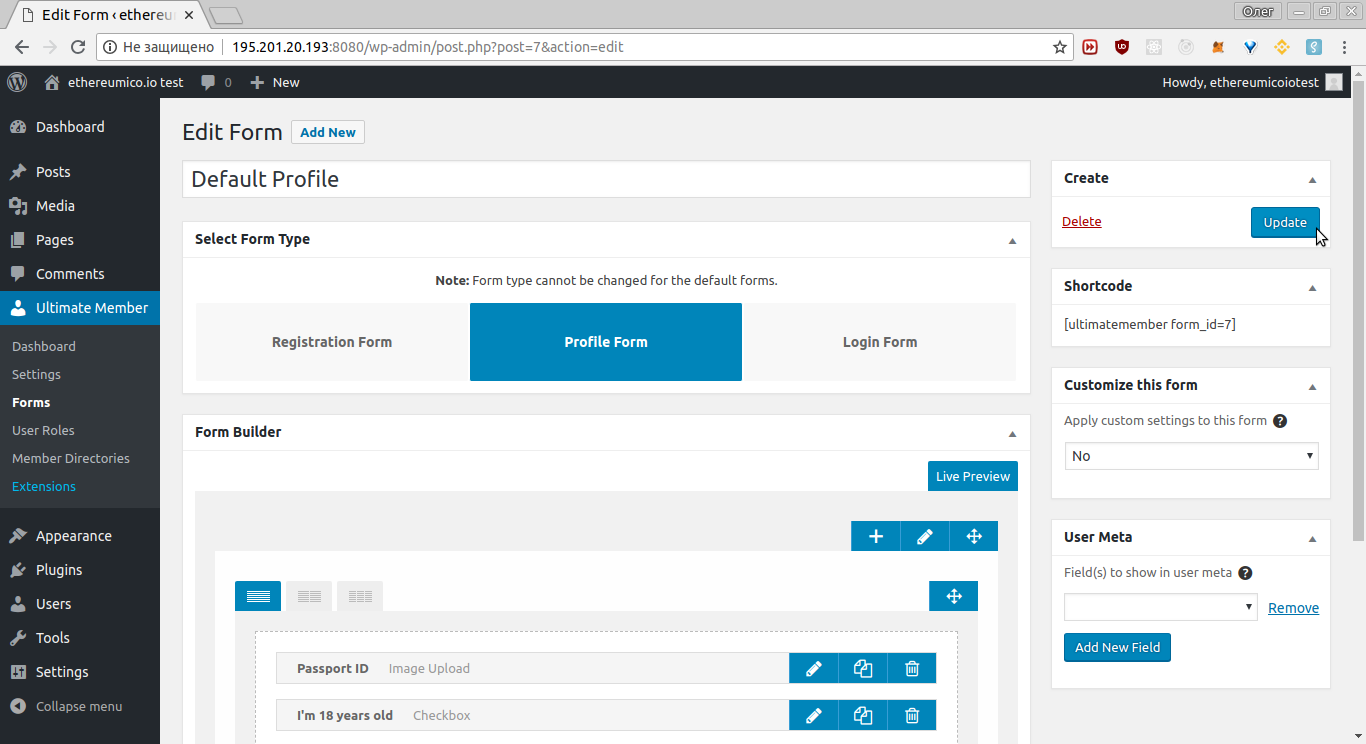
Save changes
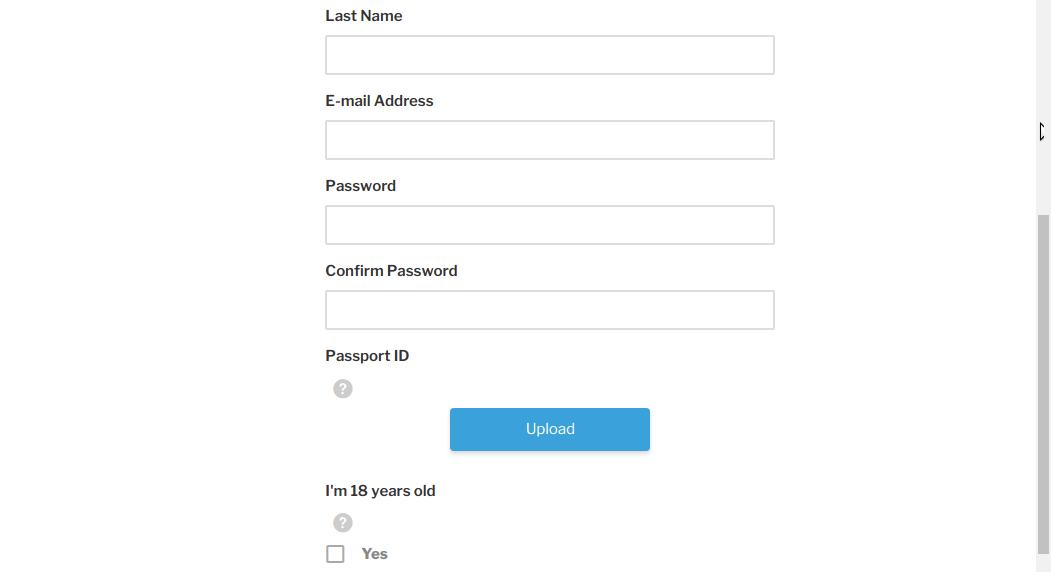
Result should looks like this:
Click the Update button in the top right part of this page:
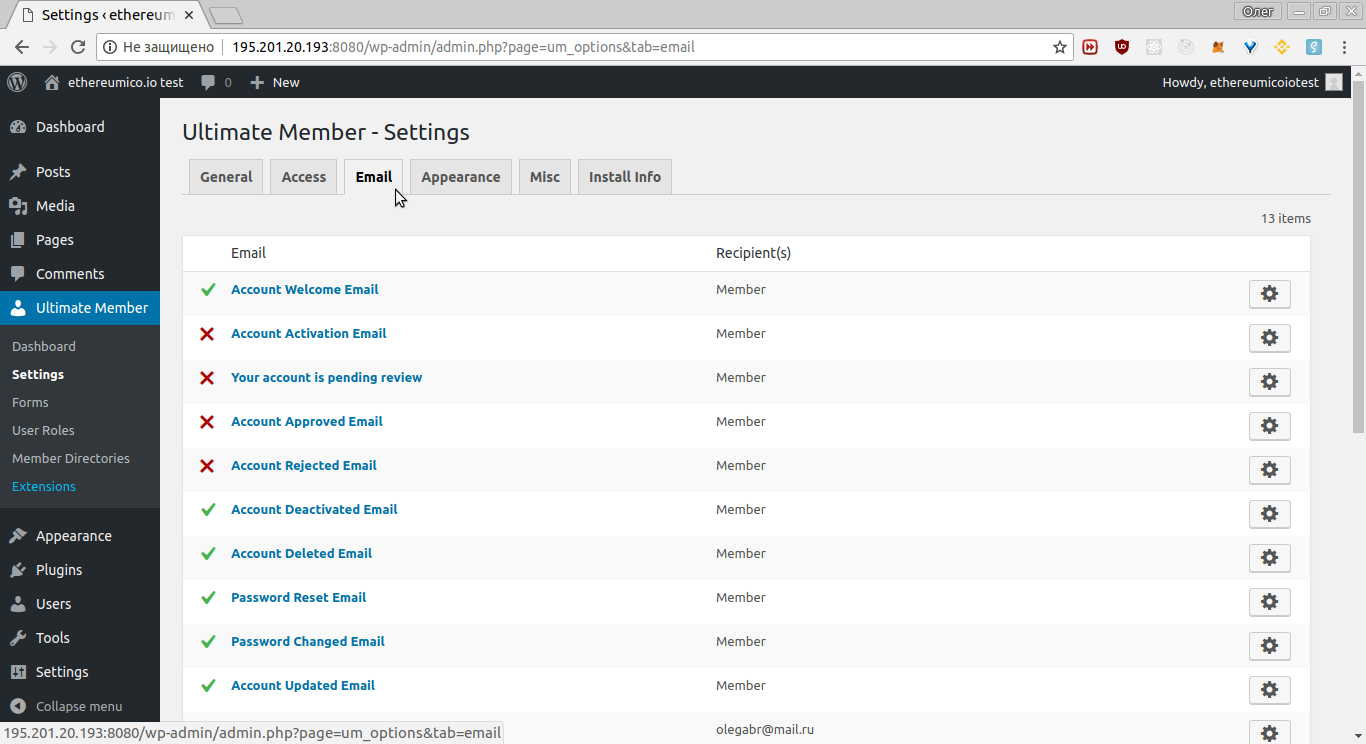
Step 5. Email settings
We need to enable some emails required for the KYC/AML admin verification process implementation WordPress KYC/AML plugin.
Open the Ultimate Member -> Settings -> Email section:
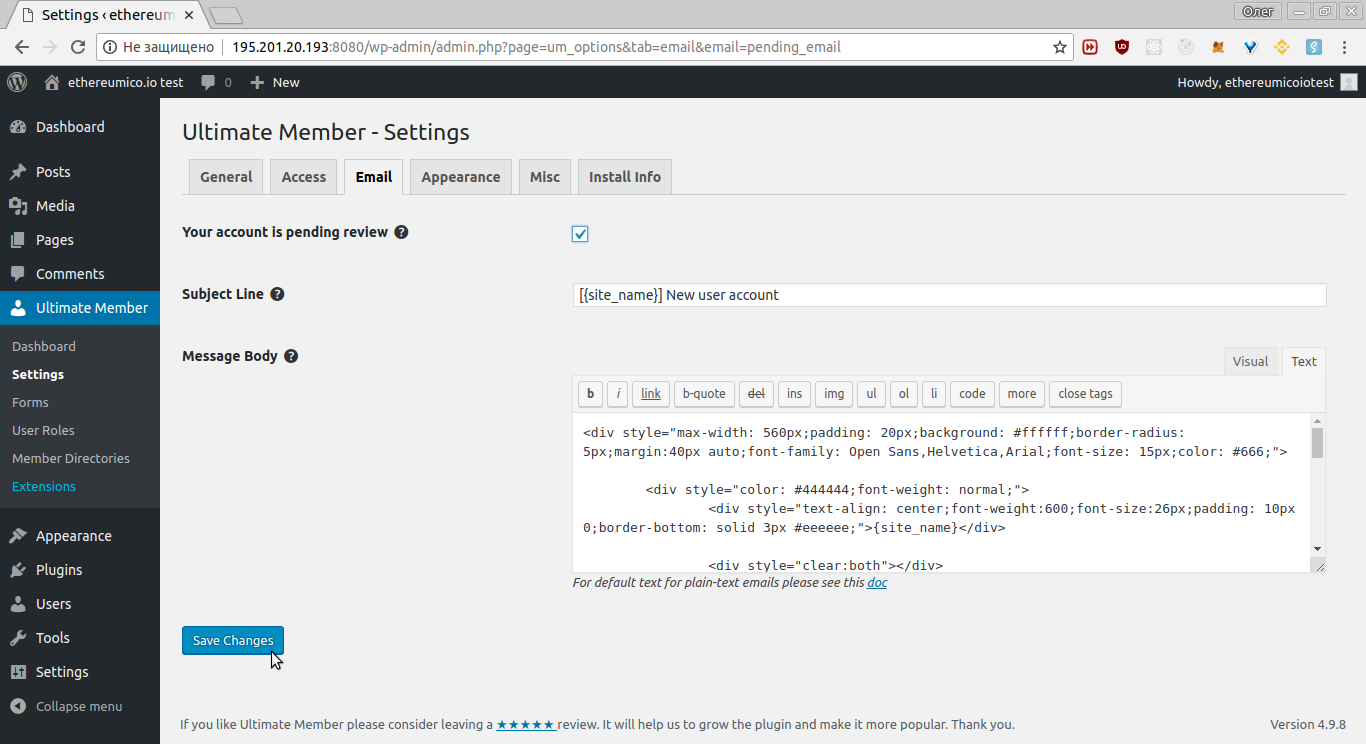
Click the Gear button on some email setting:
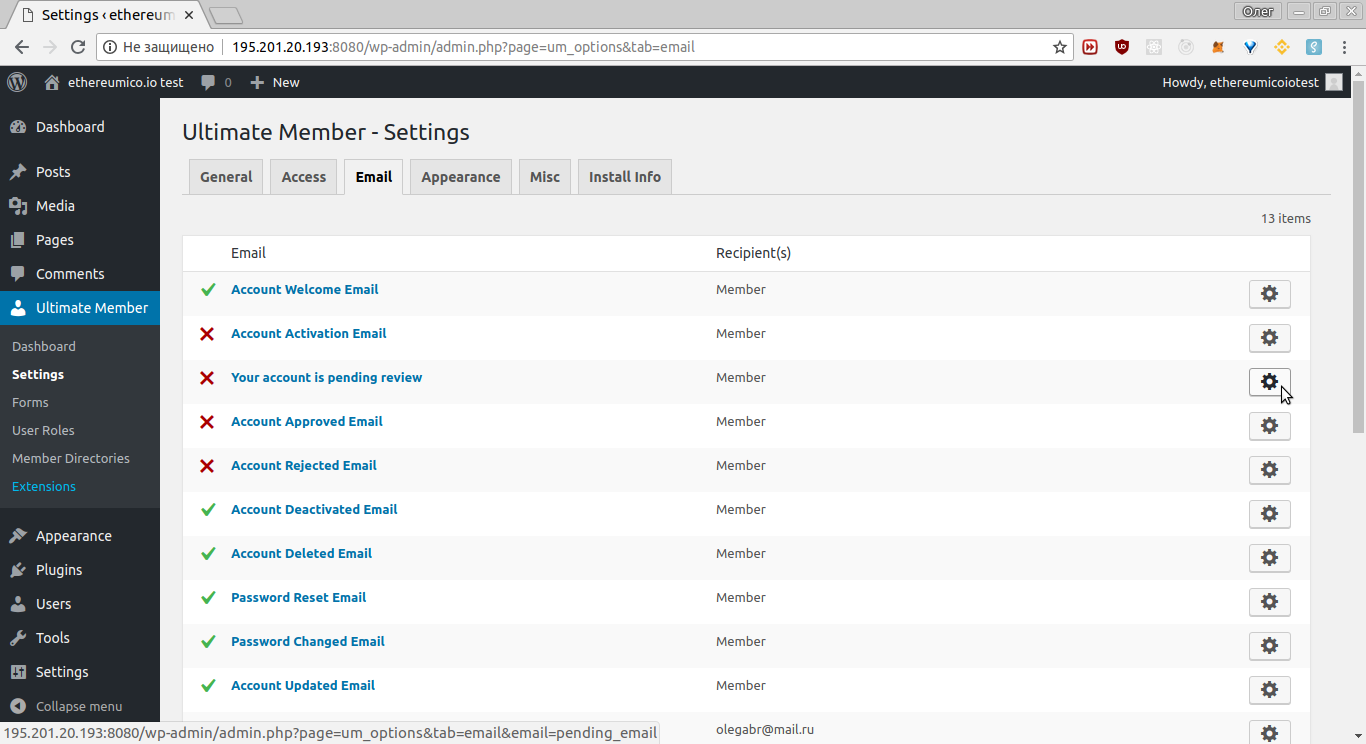
Enable the checkbox on the page opened:
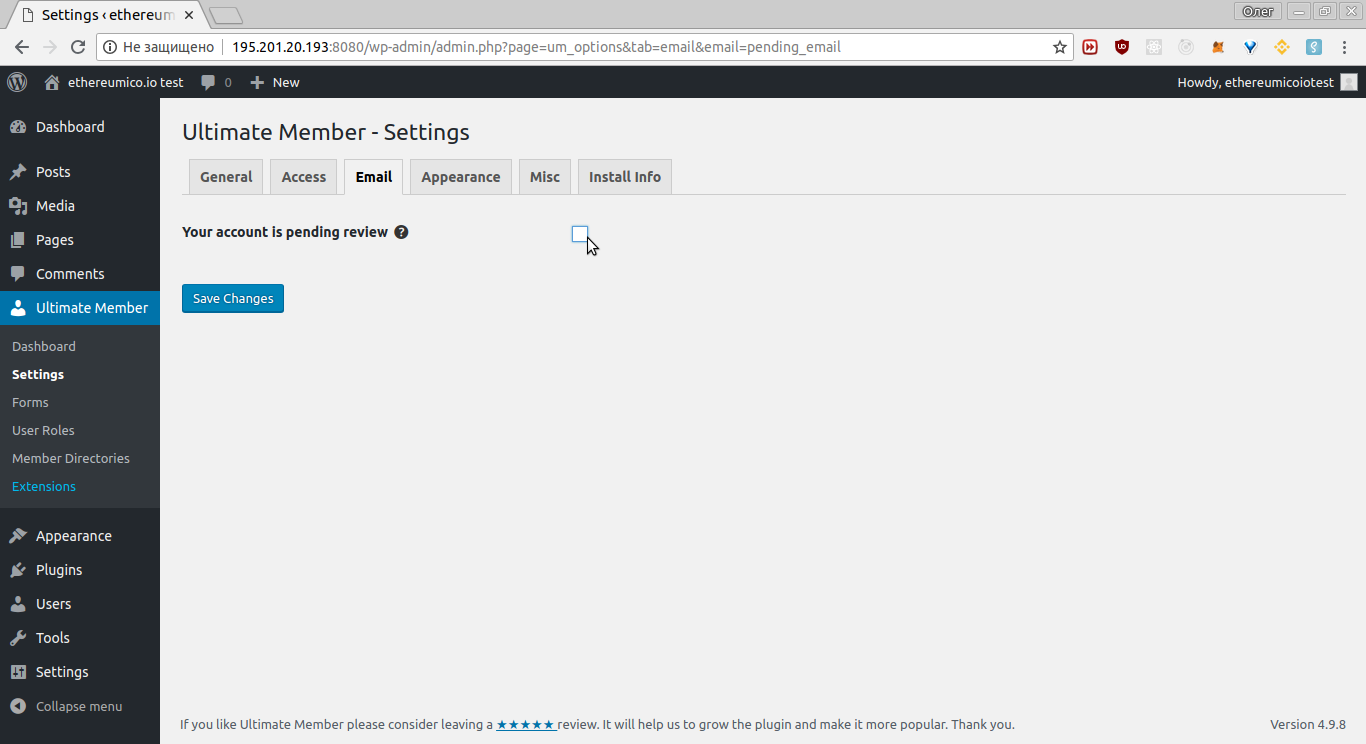
And press the Save Changes button:
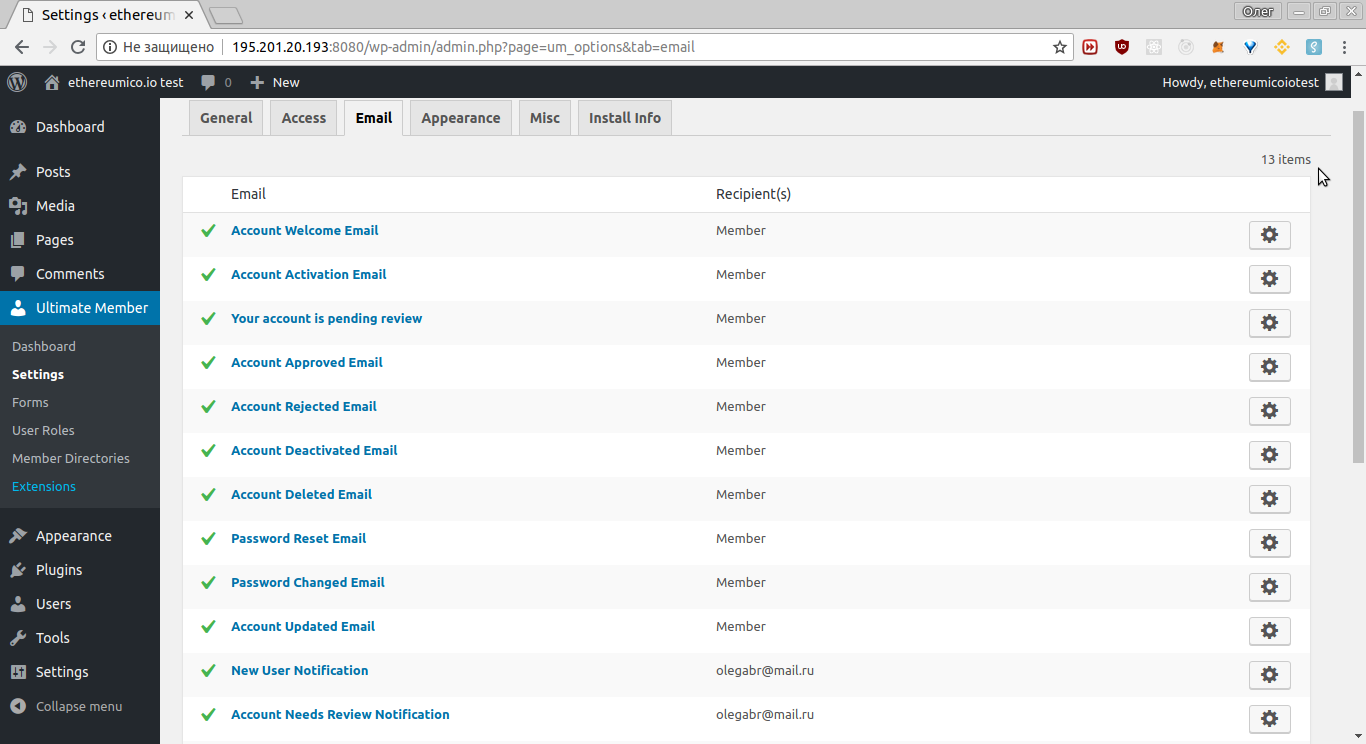
Repeat it for all emails to obtain the green Emails list like this:
Step 6. Protect KYC/AML token sale page
In this section we will restrict access to the token sale page to logged in users only. It will protect this page from all non-verified users.
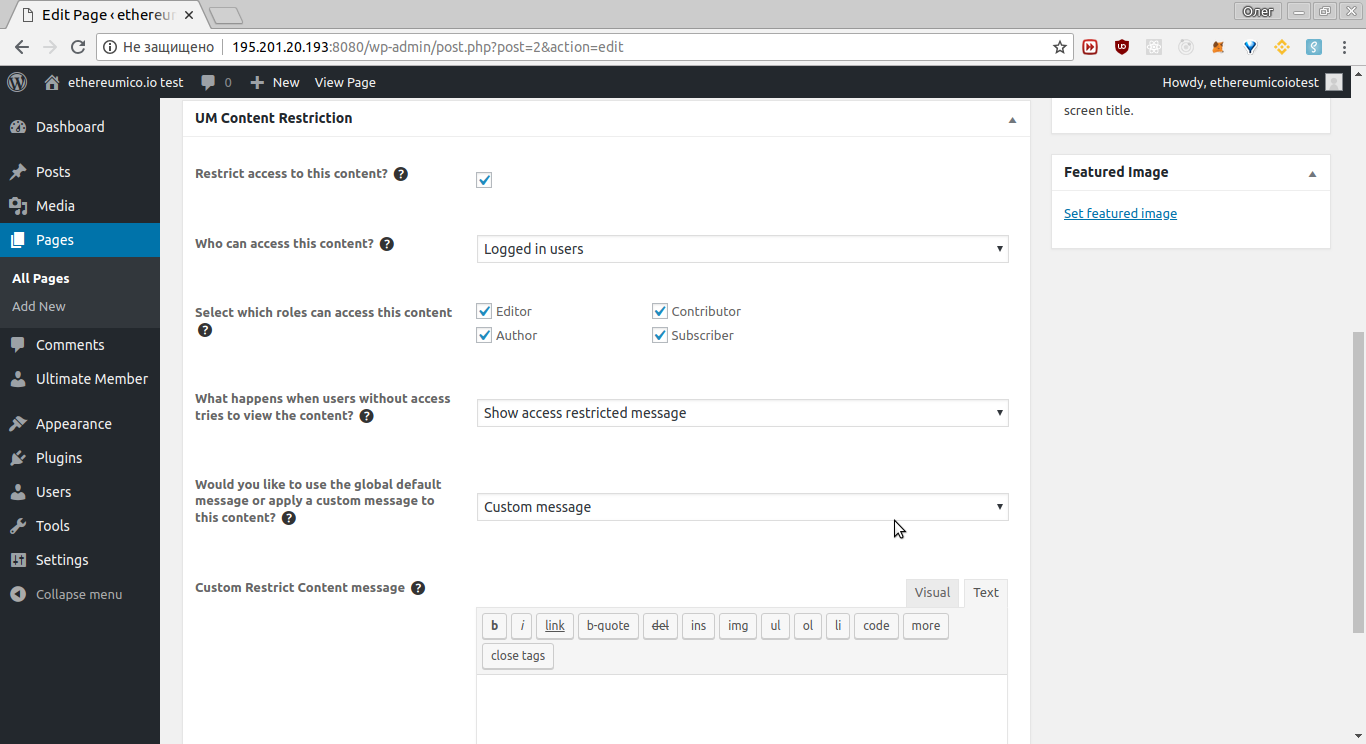
Go to Pages -> Add New or open an existing page for edit. Find the UM Content Restriction section and check the checkbox:
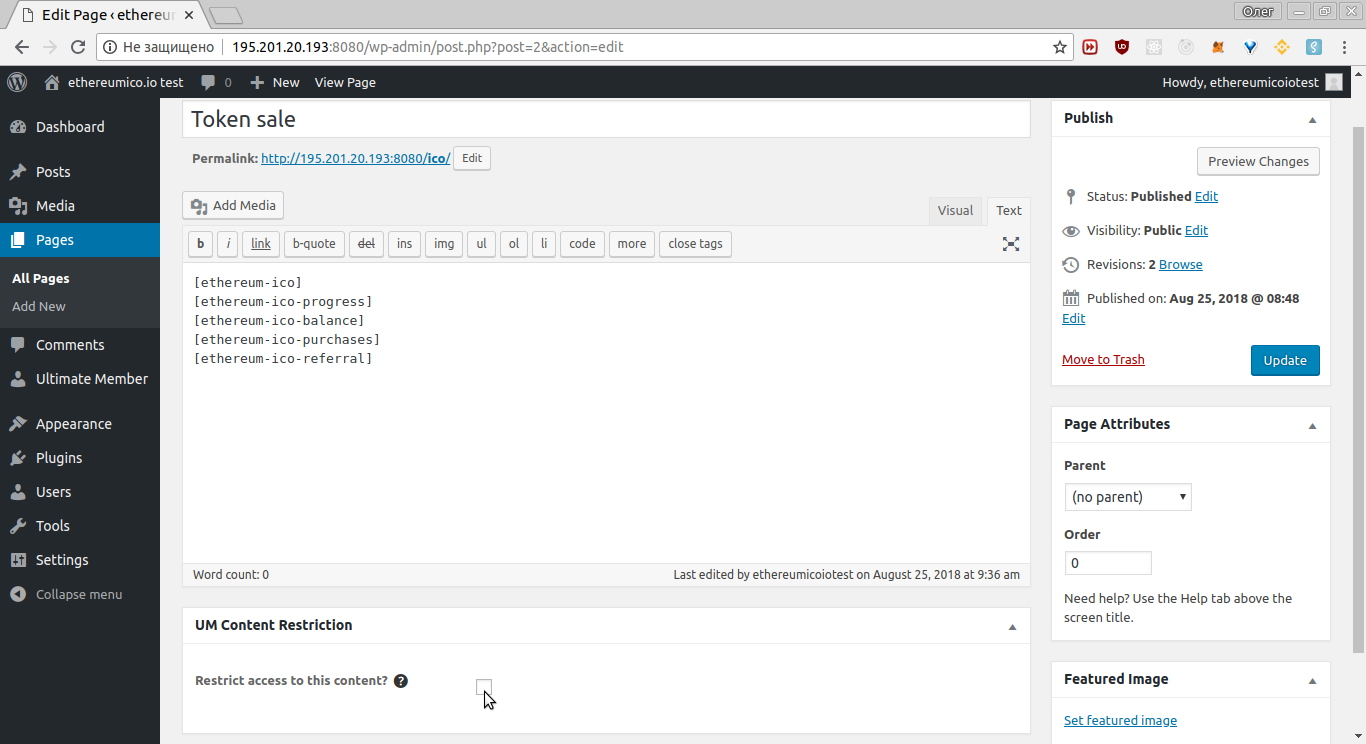
Note the Ethereum ICO WordPress Plugin shortcodes on the page.
Configure additional fields appeared in the UM Content Restriction section according to this example:
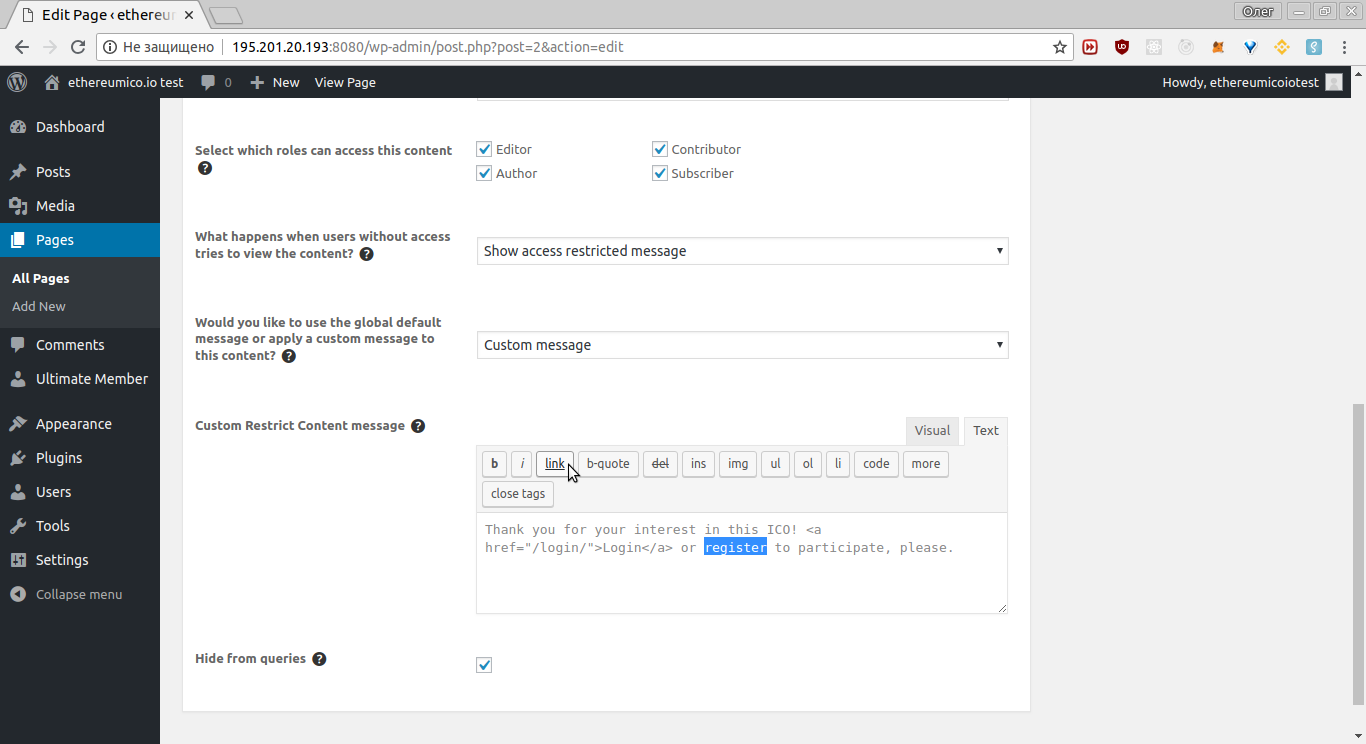
Input your Custom Restrict Content message. It often contains links for Login and Registration pages.
To do that, select the Login word and click the link button on the editor panel:

In the dialog opened select the Login page from the list and click the Add Link button:

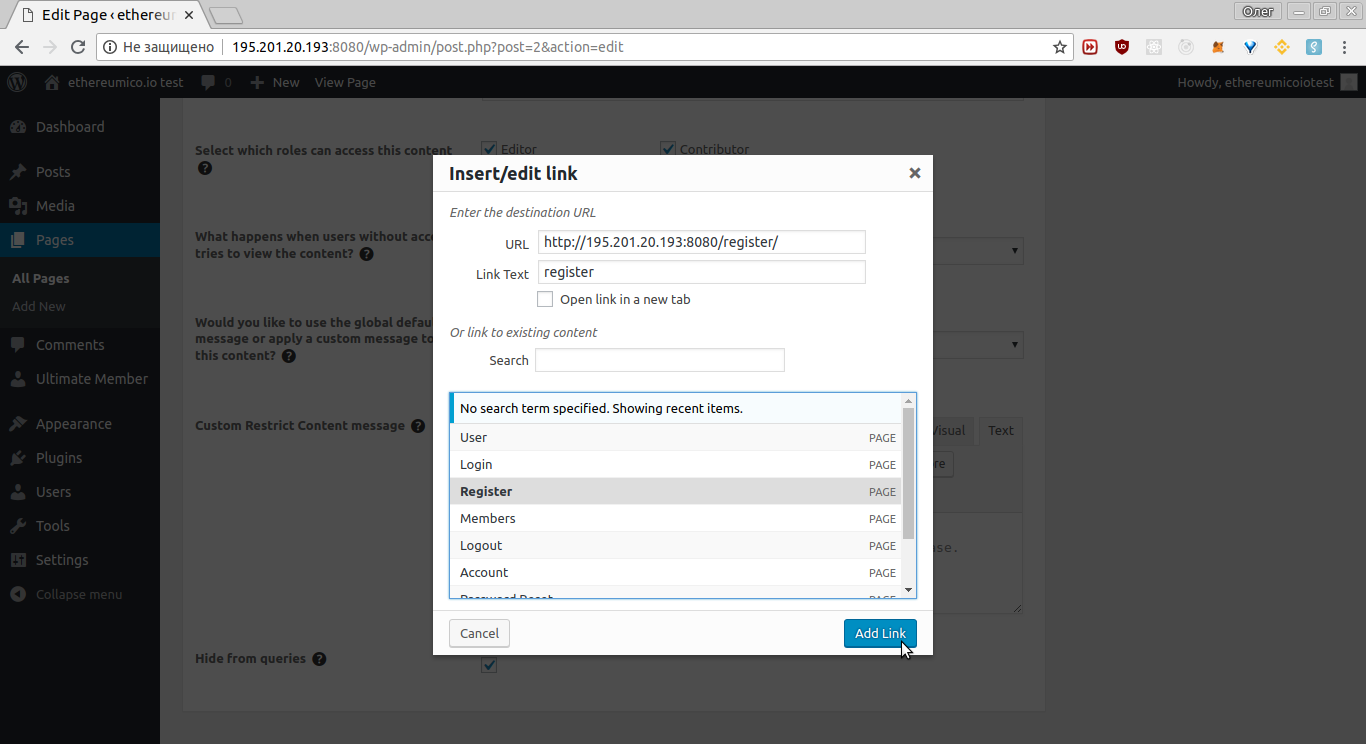
Do the same for the register link:
In the dialog opened select the Register page from the list and click the Add Link button:
The result (with site name removed from links) should looks like this:

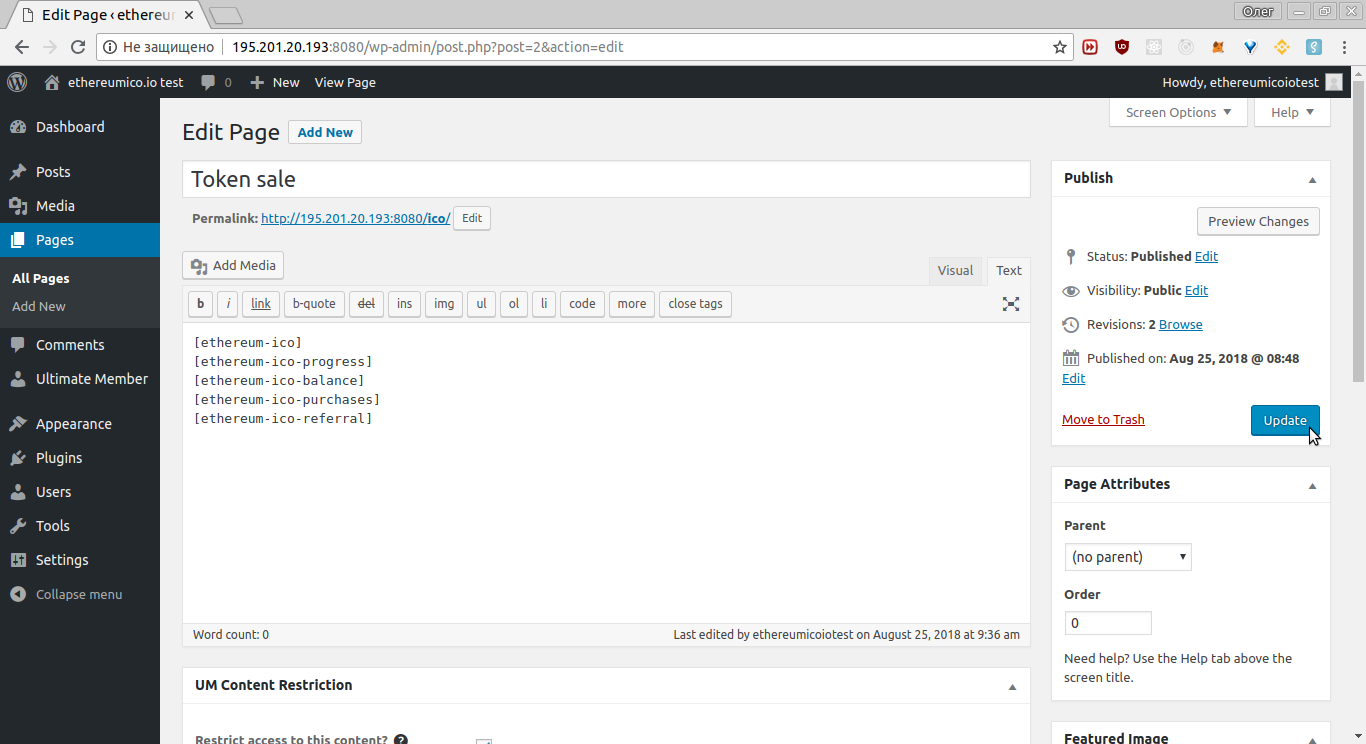
Save changes by clicking the Update button in the top right page side:
Step 6a. Protect KYC/AML WooCommerce token product
In this section we will restrict access to a WooCommerce token product page created with a help of the Cryptocurrency WordPress Plugin for WooCommerce to logged in users only. It will protect this product from all non-verified users.
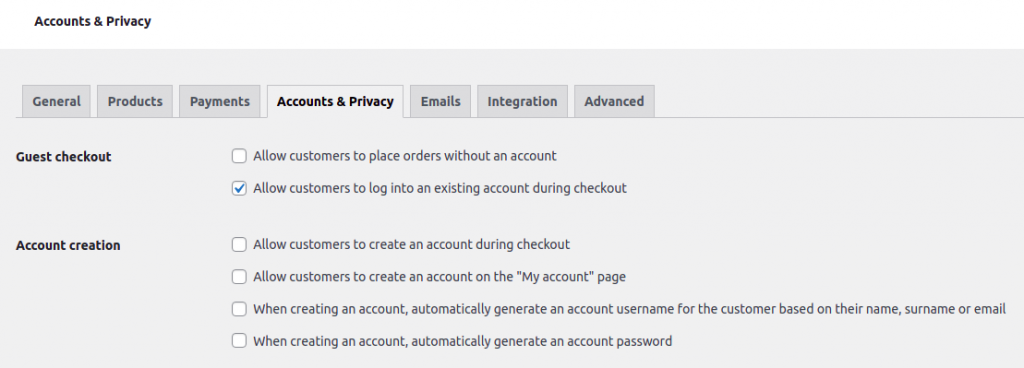
Go to WooCommerce -> Settings -> Accounts & Privacy and configure account creation settings as on this picture:
That should be enough to require all users to be registerered through a proper KYC/AML procedure before buying any of your products.
If you want to protect only some of your products, then go to Ultimate Member -> Settings -> Access page:
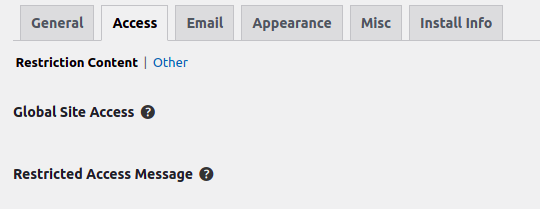
And find the Restricted Access to Posts setting:

Select the Product checkbox and save settings:

Then you’ll see this UM Content Restriction box on a WooCommerce product edit page:

Select the Restrict access to this content checkbox and configure other options shown like on the image below:
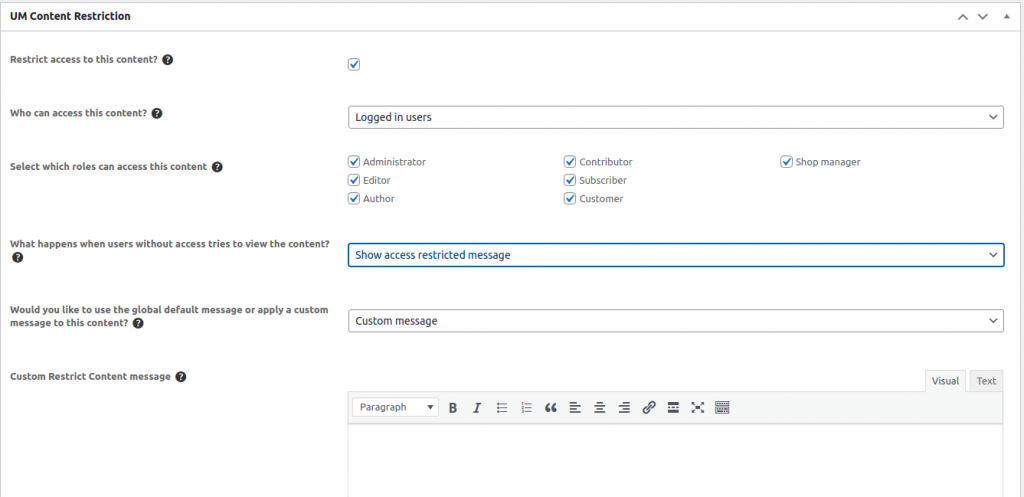
Input your Custom Restrict Content message as before. Save the product and you are done!
Step 7. Test and use KYC/AML
Congratulations! You have KYC configured for your token sale page. Let’s test and use it.
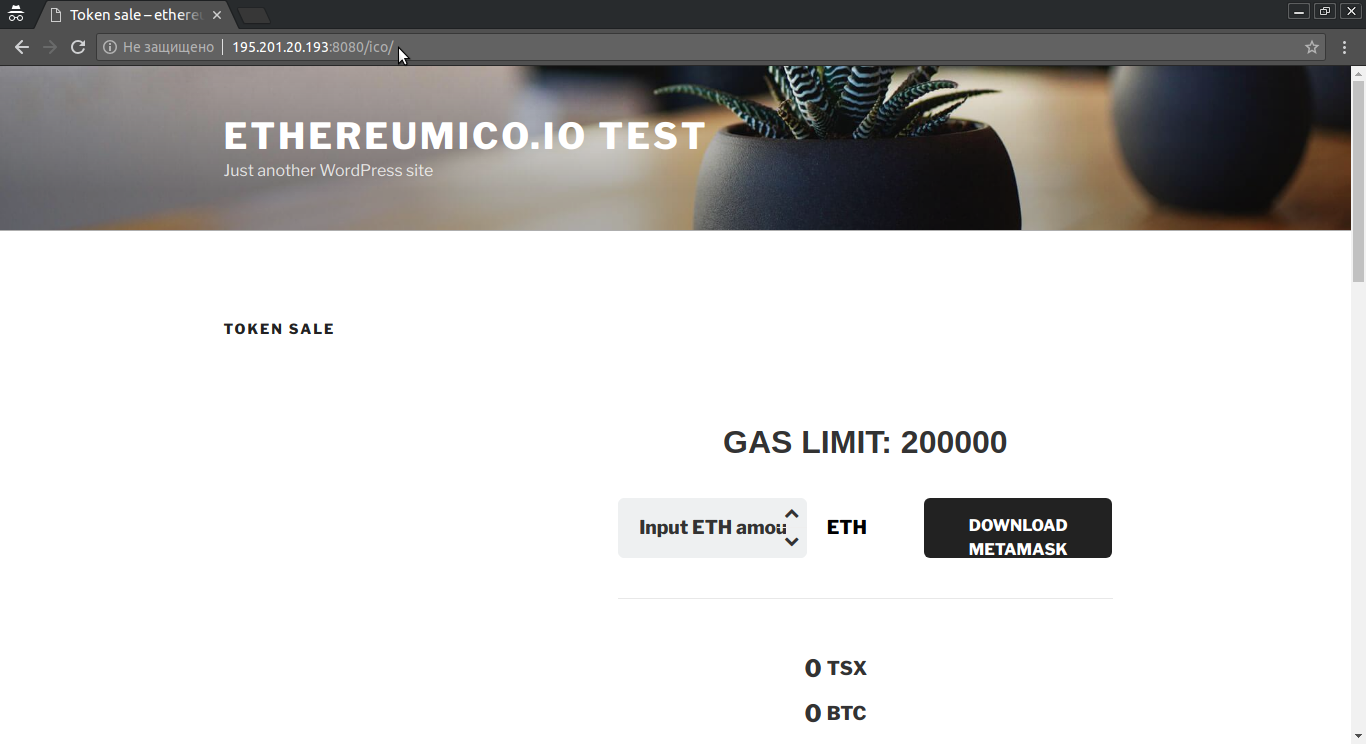
First of all, try to load your token sale page in incognito browser window (Ctrl+Shift+N in Chrome). You would see something like this:
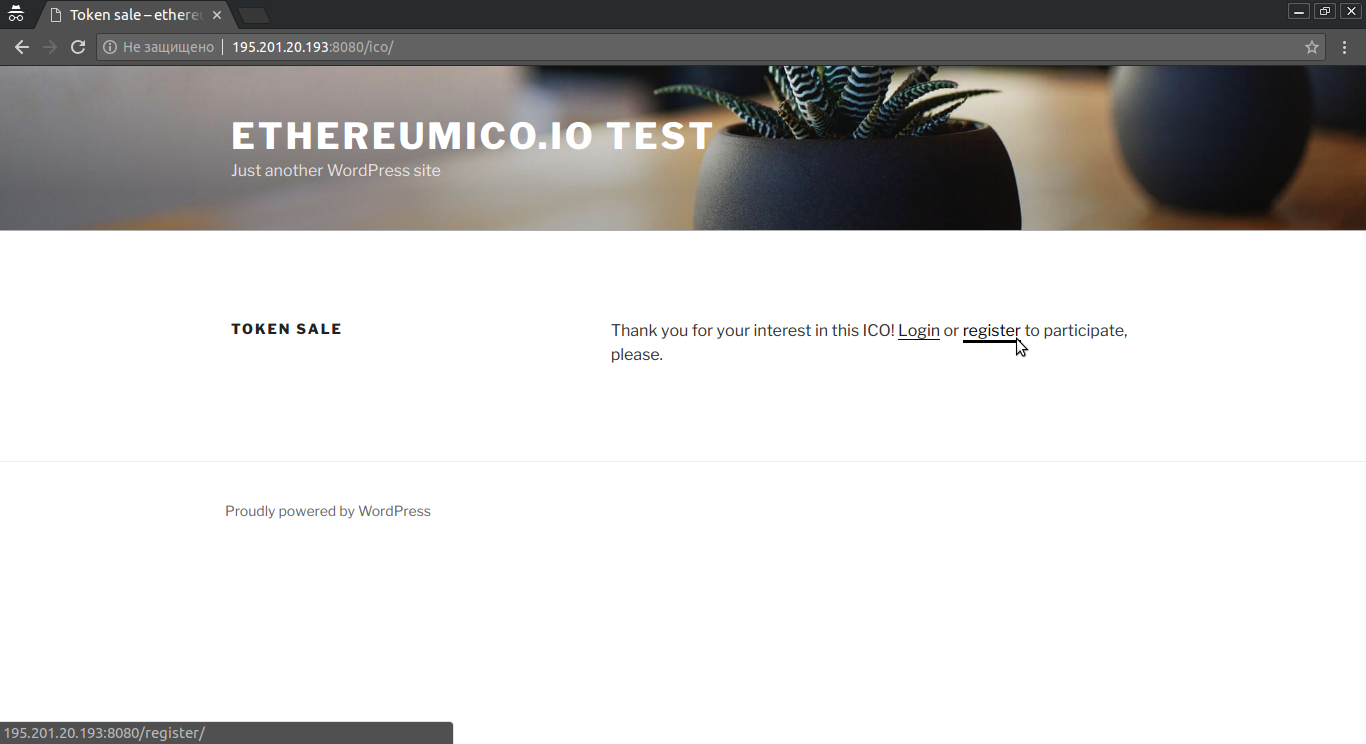
Press the Register link. You should see two additional fields that we have added:
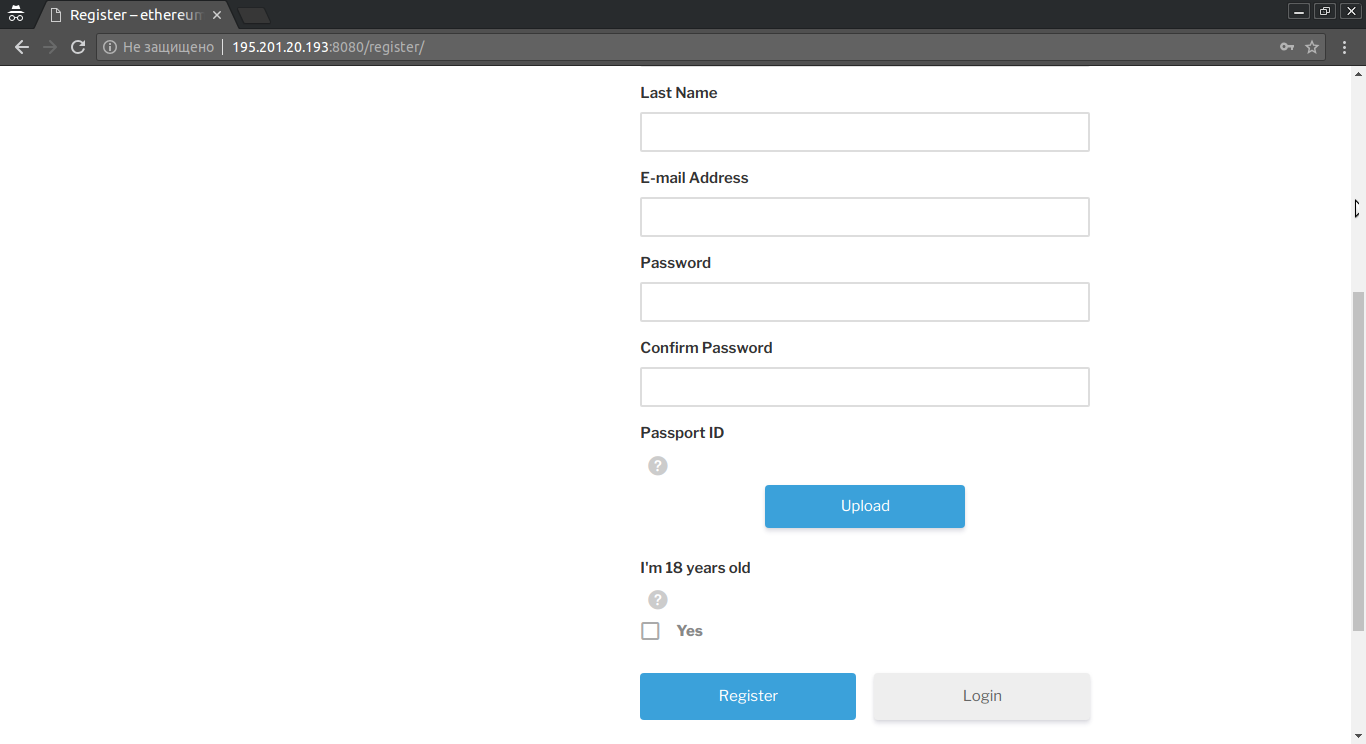
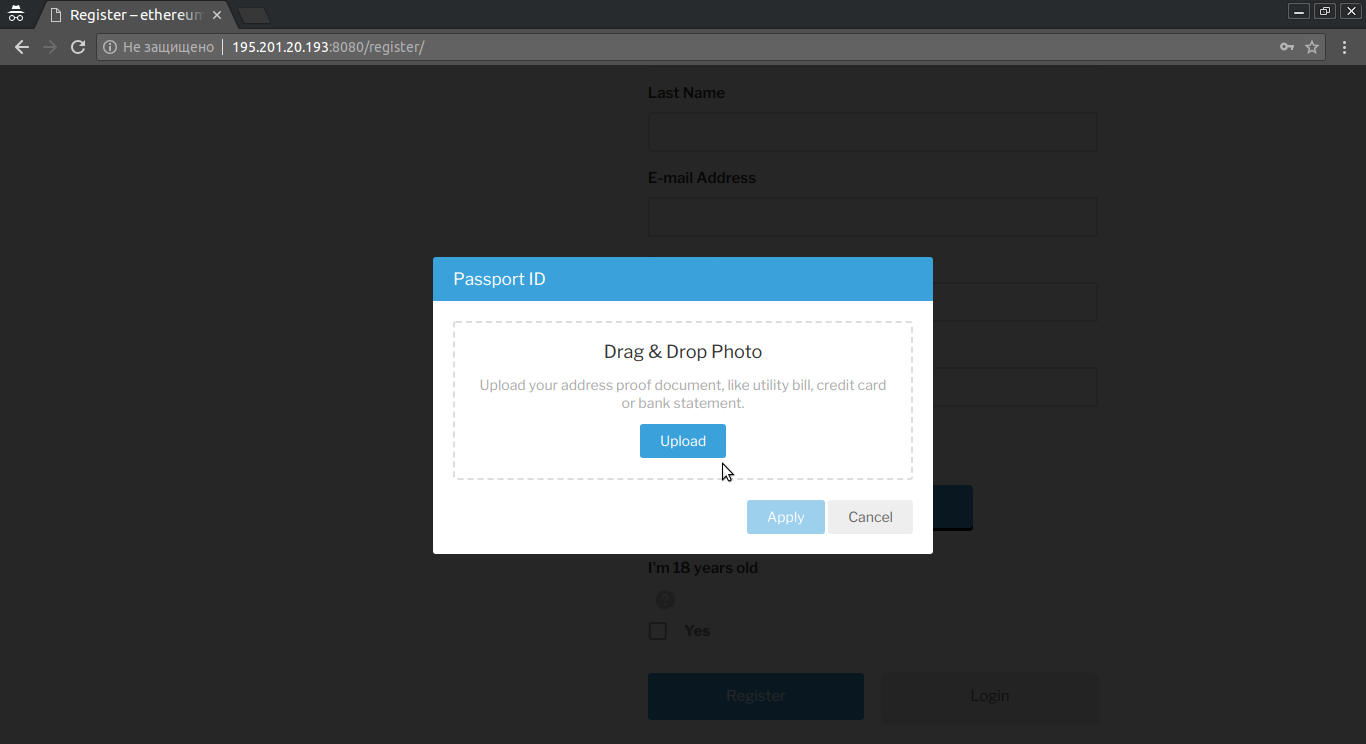
Press the Upload button and choose some picture for upload:
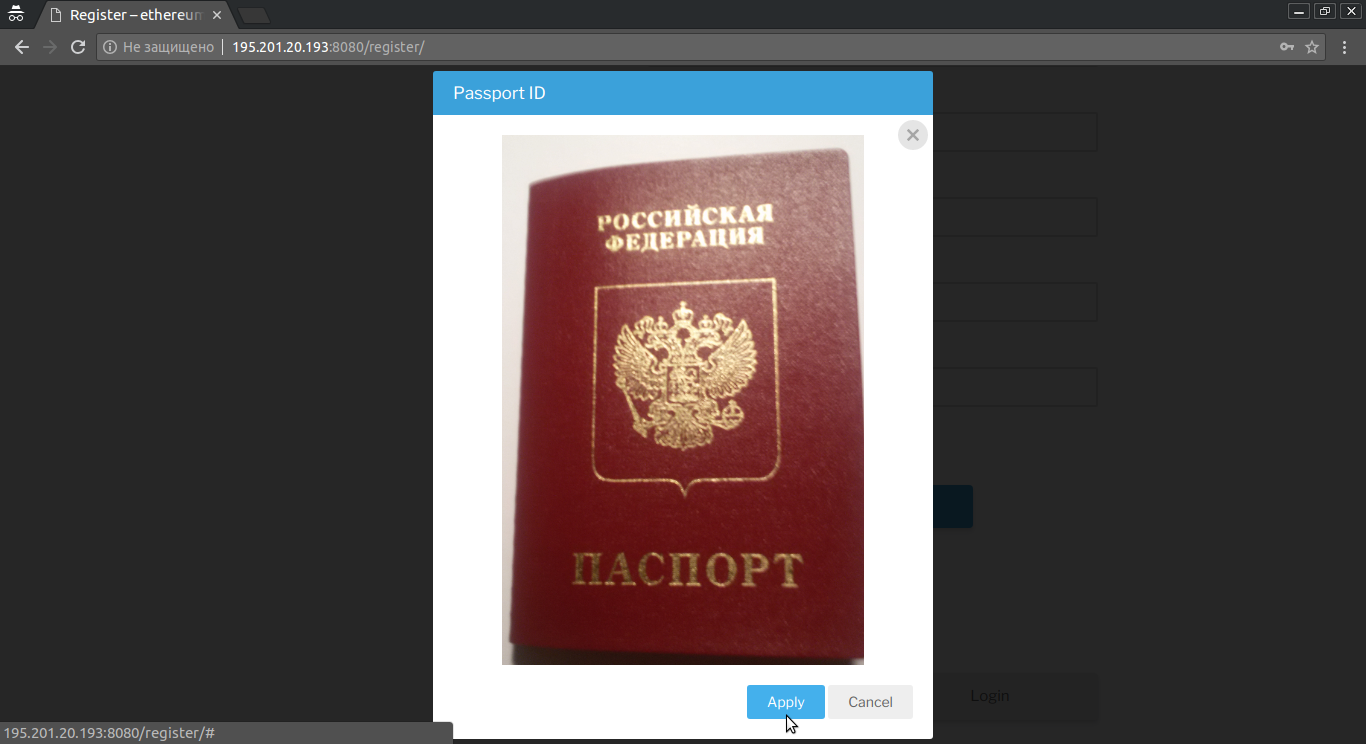
My russian passport cover in this case. And press the Apply button:
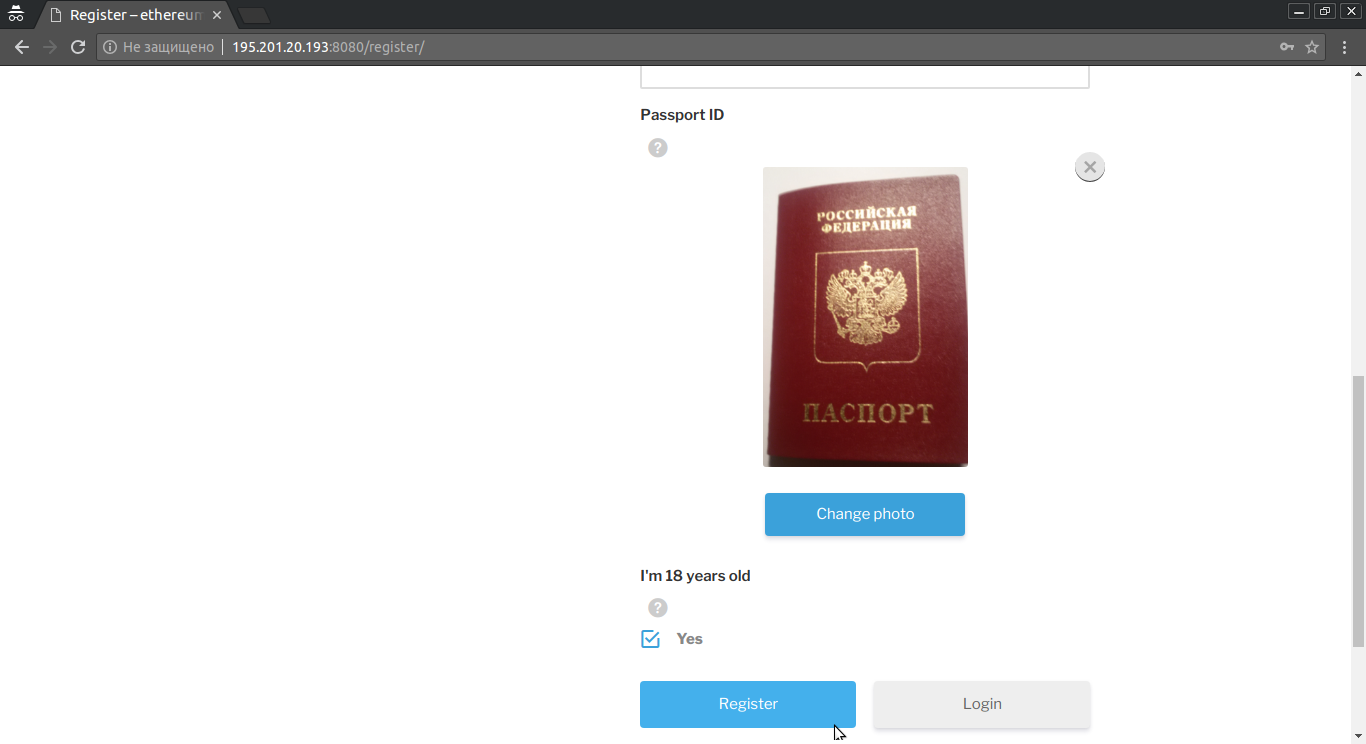
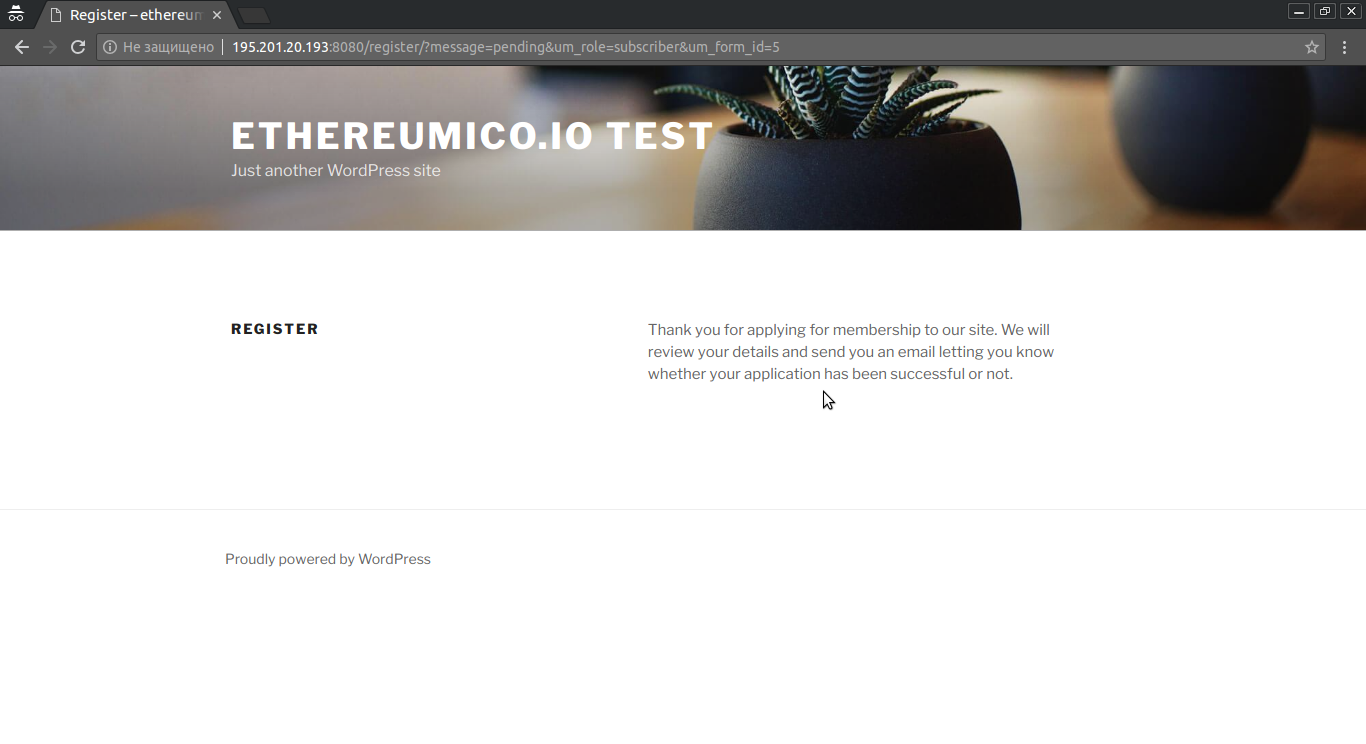
Then check the I'm 18 years old checkbox, fill all other fields required and press the Register button:
You’ll see the message you have inputted on the Step 2:
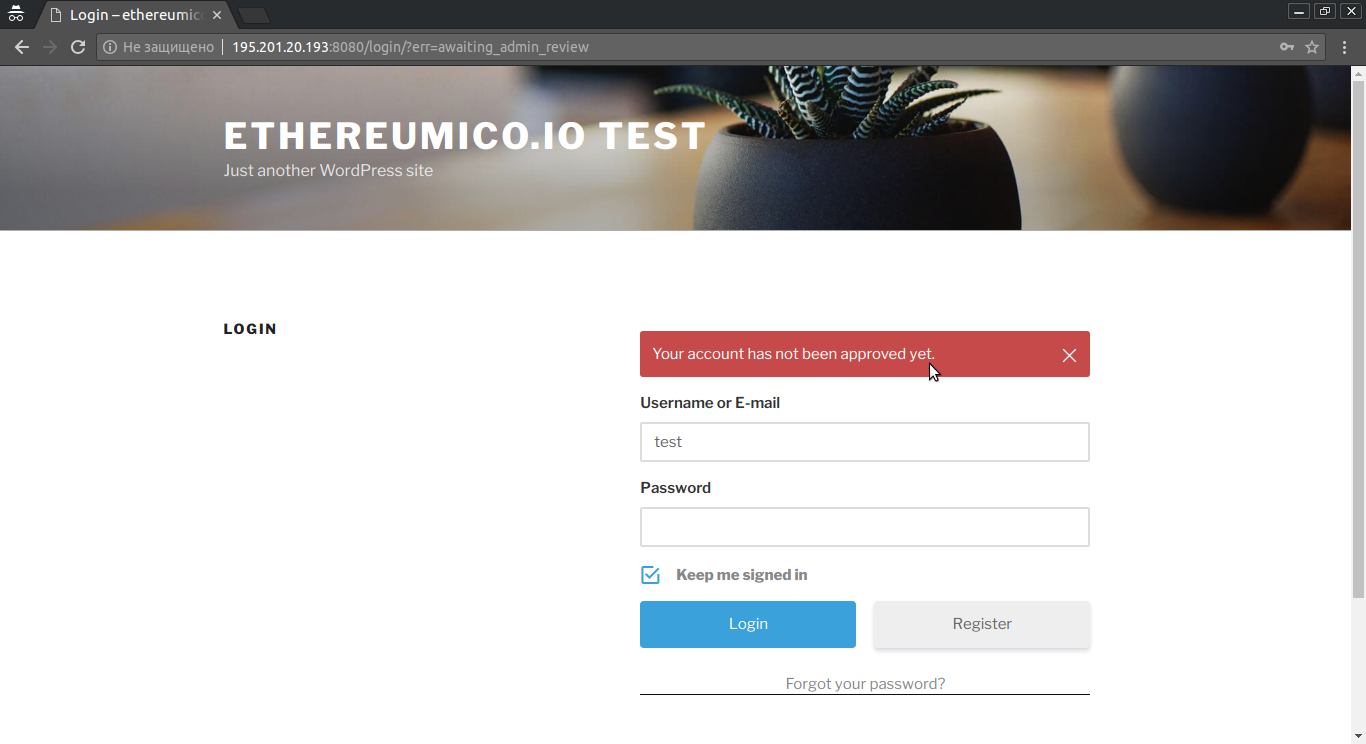
Now if you’ll try to login you’ll see this error message:
Now return to the admin panel and open the Users -> Pending review table:
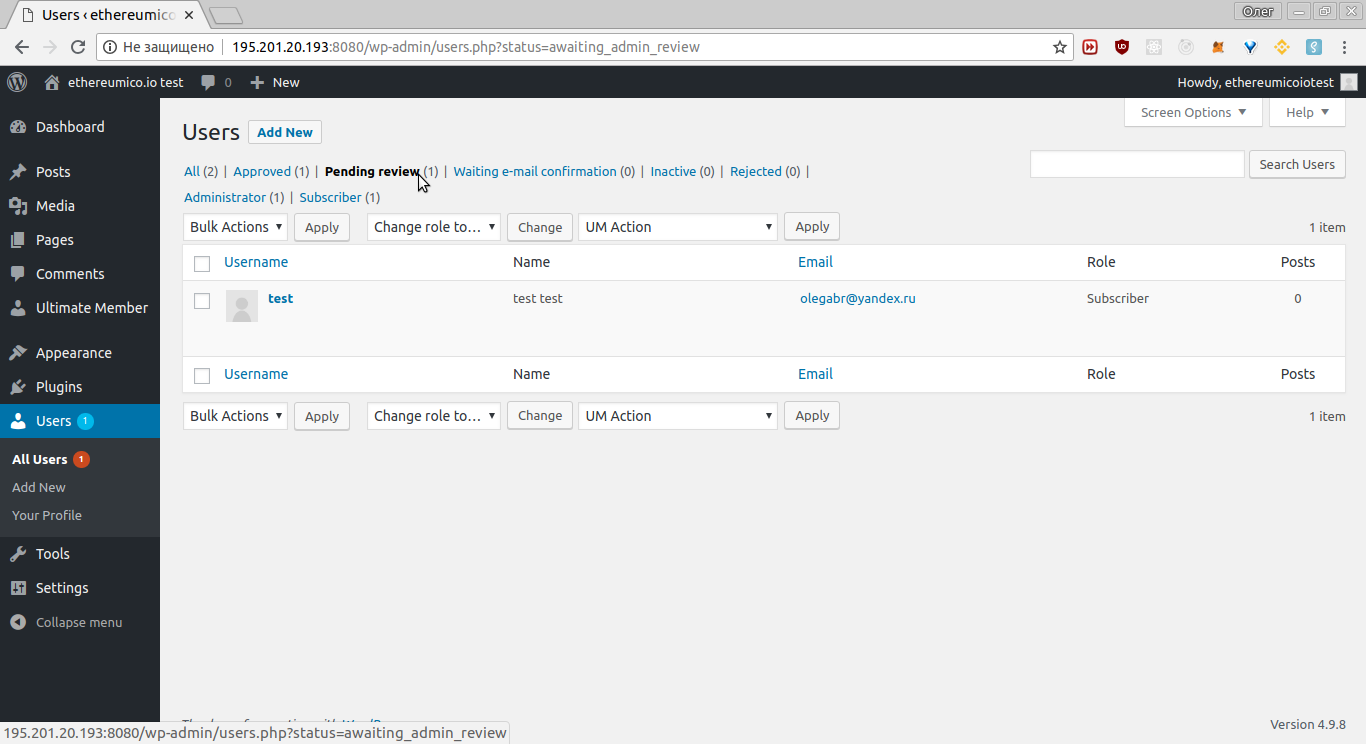
Hover some user’s row with your mouse pointer and click the View link shown:

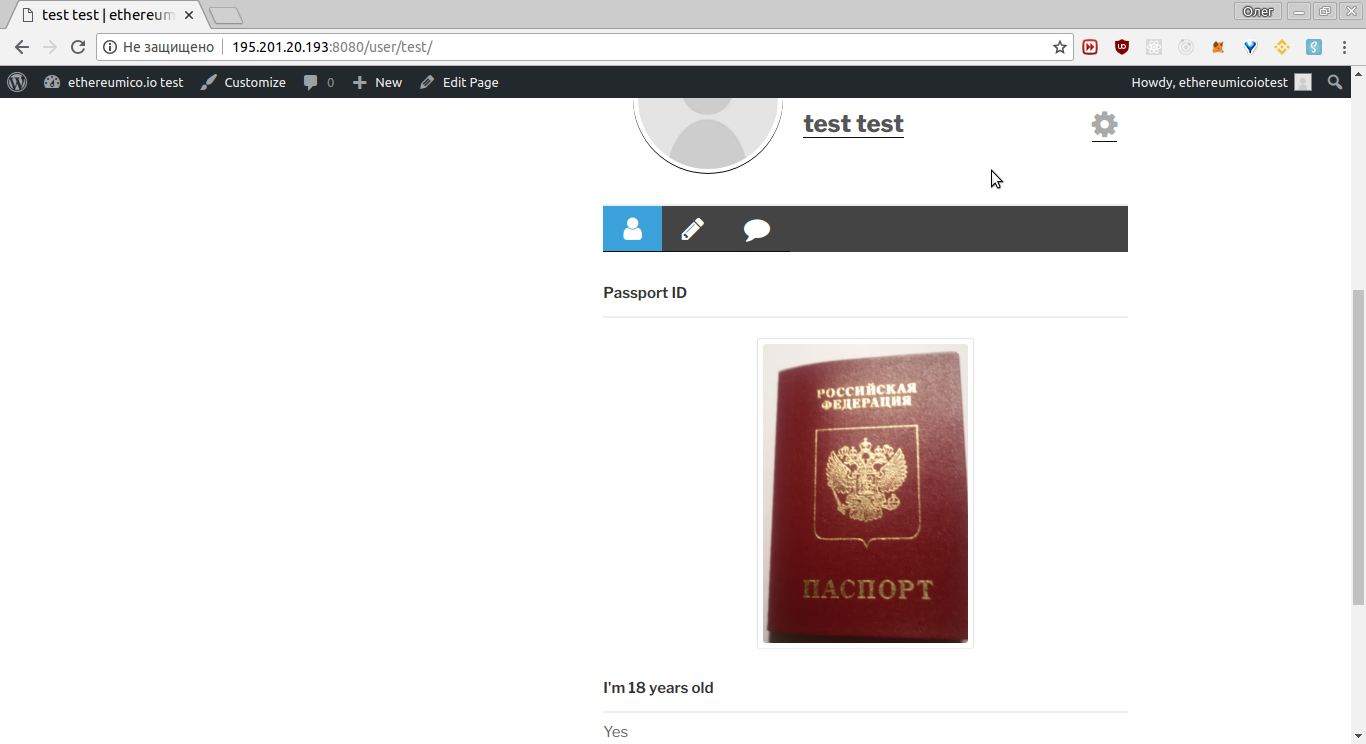
The user profile form would be loaded with uploaded Passport ID image and all other fields you have added here:

Note the
This user account status is Pending Reviewmessage in the page header.
Press the Gear button in the page header and click the Approve Membership if you are sure that Passport ID and other KYC conditions are met for this user:

Note the This user account status is Pending Review message in the page header has disappeared:
Open the incognito browser window (Ctrl+Shift+N in Chrome) again and login. the login should succeed. And if you have configured the Login redirect to your token sale page you should see something like this:
You need the Ethereum ICO WordPress Plugin to be installed and configured to see these widgets rendered.
Step 8. Implement KYC/AML in smart contract
The KYC/AML we have implemented in previous 1 to 7 steps protects only your site pages from unverified users. But as long as your Crowdsale smart contract is deployed in the Ethereum blockchain, anyone can just send Ether to the address of this contract and have tokens in return.
You need to implement the Whitelist functionality in your Crowdsale smart contract to be able to whitelist your verified investors, allowing them to purchase your tokens.
These two well tested contracts can be an excellent starting point for you: Whitelist and WhitelistedCrowdsale
Also, feel free to use the Crowdsale Contract and ERC20 Token Development Service to let us do this job for you.
See also: Ethereum ICO WordPress Plugin, Cryptocurrency WordPress Plugin for WooCommerce, WordPress Ethereum Wallet plugin